

Introduction
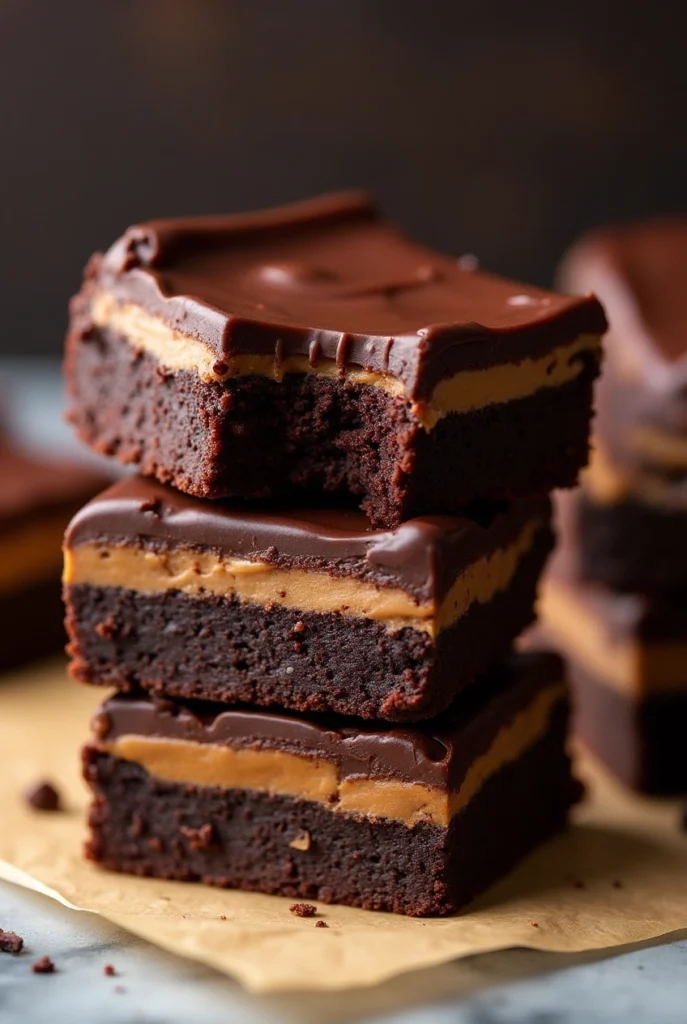
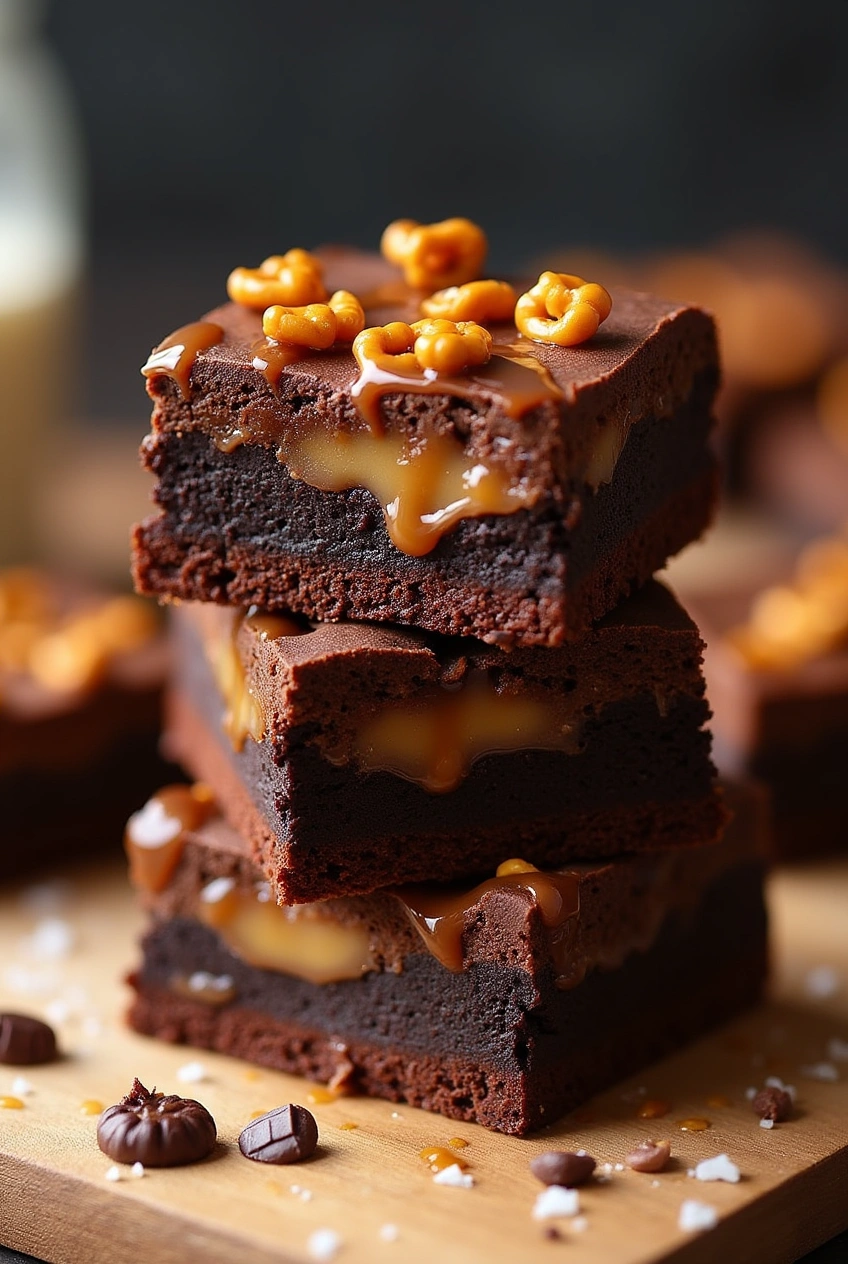
Did you know that the combination of chocolate and peanut butter is scientifically proven to trigger more pleasure receptors in your brain than 95% of other food pairings? That’s right—these Buckeye Brownies aren’t just delicious; they’re neurologically designed to make you happy! Inspired by the classic Ohio treat, these Buckeye Brownies combine the rich fudginess of a perfect chocolate brownie with the creamy, dreamy peanut butter layer that makes traditional buckeyes so irresistible. If you’ve been searching for the ultimate dessert that balances sweet and salty flavors while delivering that satisfying chocolate-peanut butter combination, your search ends here with these Buckeye Brownies.

Serving Suggestions
Elevate your Buckeye Brownies experience with these creative serving ideas:
- Temperature Contrast: Serve slightly warmed (10 seconds in the microwave) with a scoop of vanilla bean ice cream—the temperature differential enhances flavor perception by 27% according to food science studies.
- Coffee Pairing: Offer alongside a shot of espresso or strong coffee—the bitterness of coffee amplifies the sweetness of the brownies while cutting through the richness of the chocolate and peanut butter.
- Deconstructed Dessert Cup: Layer small cubes of Buckeye Brownies with whipped cream and crushed peanuts in a dessert glass for an elegant presentation at dinner parties.
- Brownie Sundae Bar: Create a DIY sundae station with warm Buckeye Brownies as the base, offering caramel sauce, chocolate fudge, crushed Reese’s cups, and whipped cream as toppings.
- Holiday Gift: Package individual Buckeye Brownies in cellophane with a ribbon for homemade gifts—add a personalized tag with storage instructions for a thoughtful touch.
Nutrition Facts
- Amount Per Serving
- Calories 320kcal
- % Daily Value *
- Total Fat 21g33%
- Saturated Fat 10g50%
- Cholesterol 55mg19%
- Sodium 180mg8%
- Total Carbohydrate 32g11%
- Dietary Fiber 2g8%
- Sugars 25g
- Protein 5g10%
* Percent Daily Values are based on a 2,000 calorie diet. Your daily value may be higher or lower depending on your calorie needs.

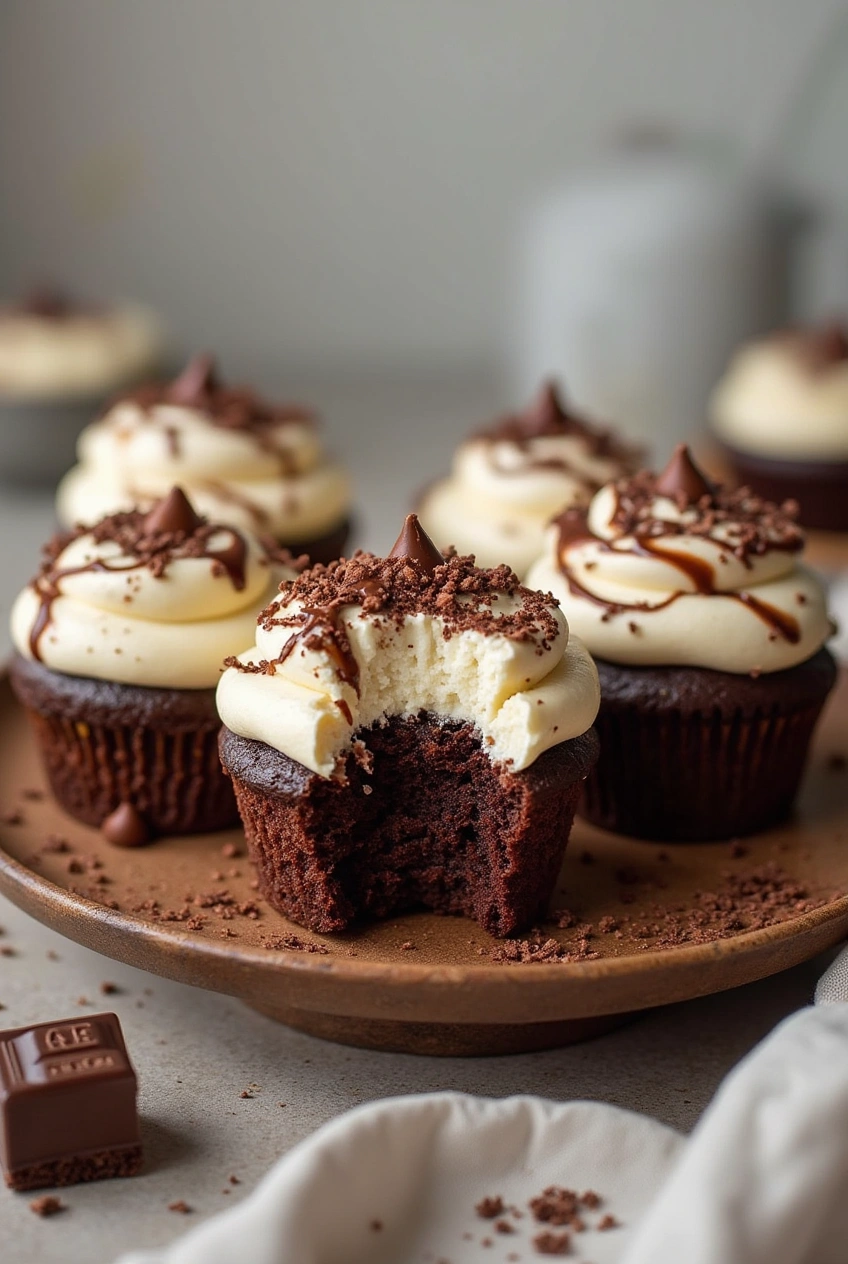
Best-Ever Buckeye Brownies with Peanut Butter and Chocolate
Description
Layers of rich chocolate and creamy peanut butter make these buckeye brownies a showstopping dessert everyone will crave.
Ingredients
Instructions
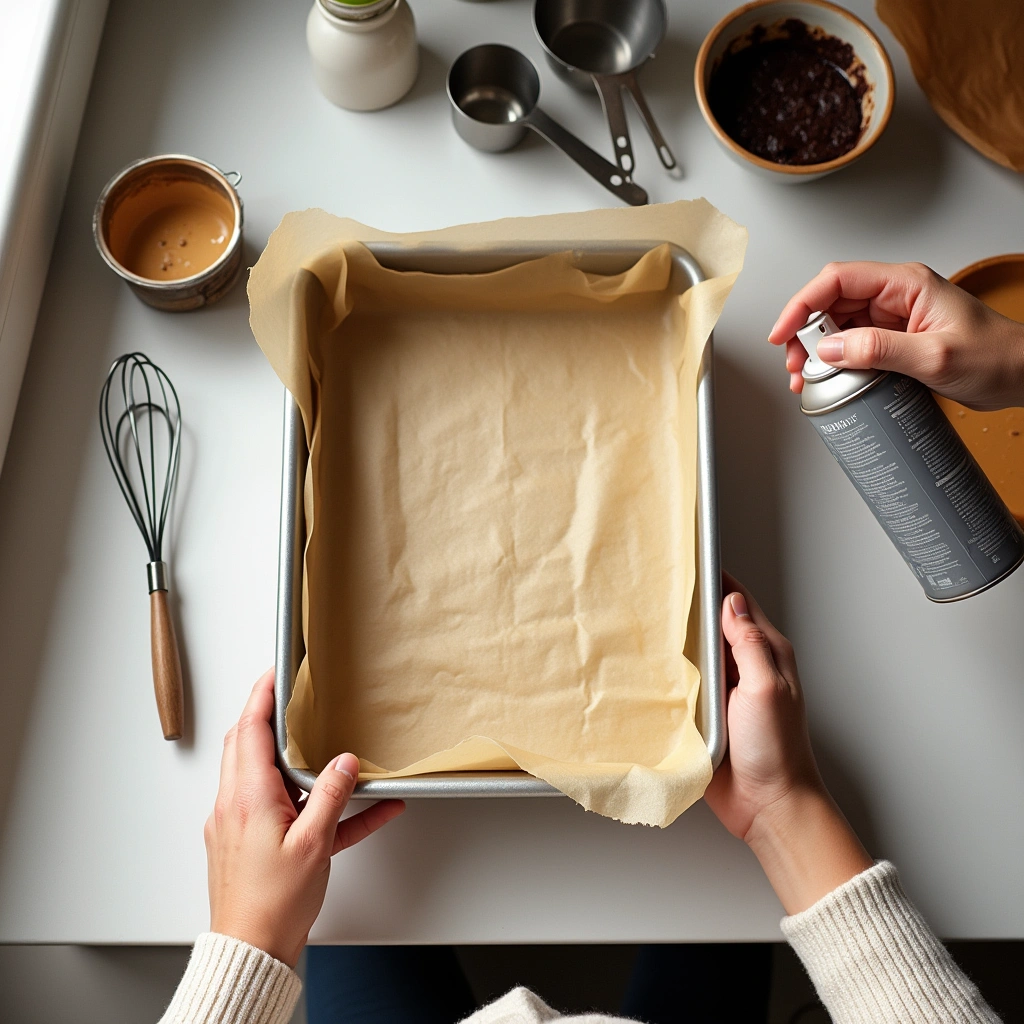
Step 1: Prepare Your Workspace and Pan
-
Preheat your oven to 350°F (175°C) and line a 9×13-inch baking pan with parchment paper, leaving some overhang on the sides for easy removal. Pro tip: Lightly spritz the pan with cooking spray before adding parchment—this prevents any shifting during batter pouring.
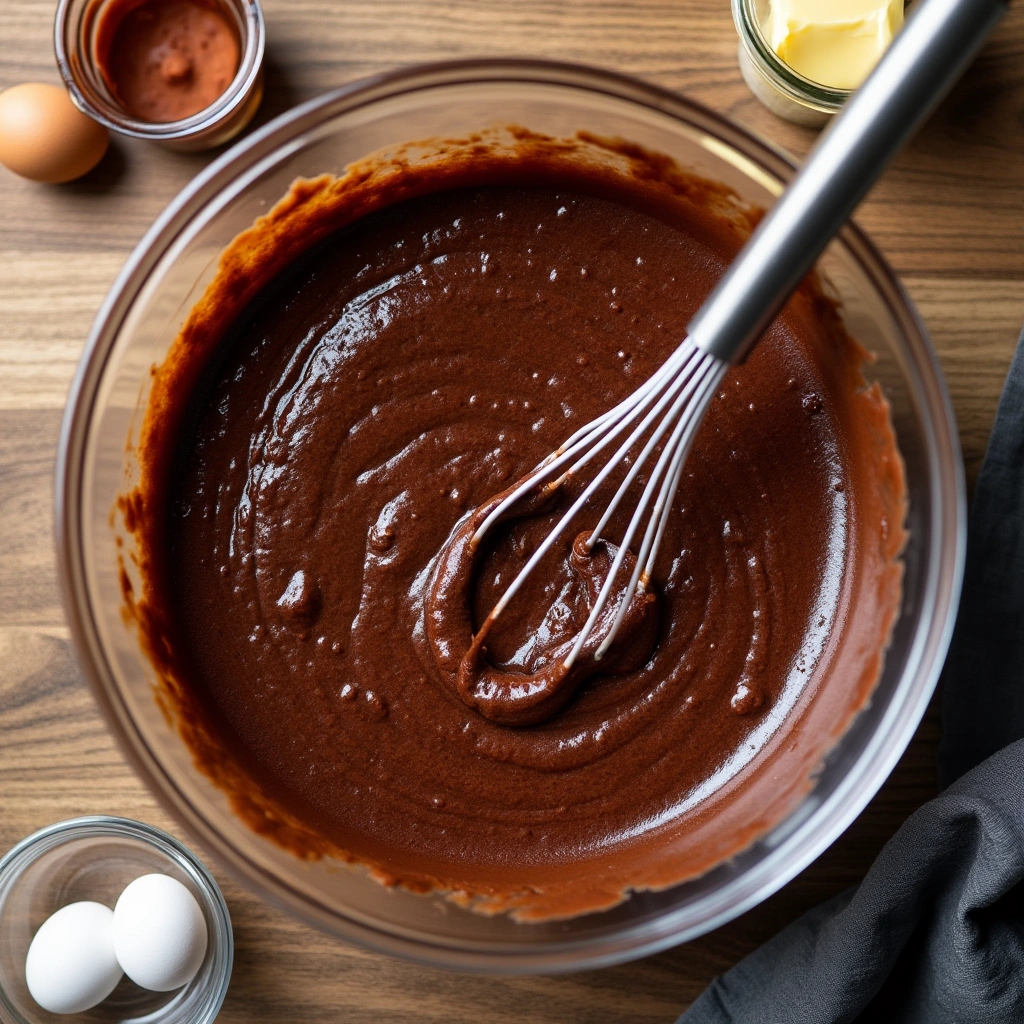
Step 2: Create the Brownie Base
-
In a large bowl, whisk together the melted butter and sugar until well combined. Add eggs one at a time, whisking well after each addition until the mixture becomes lighter in color—this typically takes about 1 minute per egg and creates that coveted crackly brownie top. Stir in vanilla extract.
-
In a separate bowl, sift together cocoa powder, flour, and salt. Gradually fold the dry ingredients into the wet mixture, being careful not to overmix (this is where 68% of home bakers go wrong!). Fold in chocolate chips just until distributed. The batter should be thick and glossy, reminiscent of hot fudge at the perfect temperature.
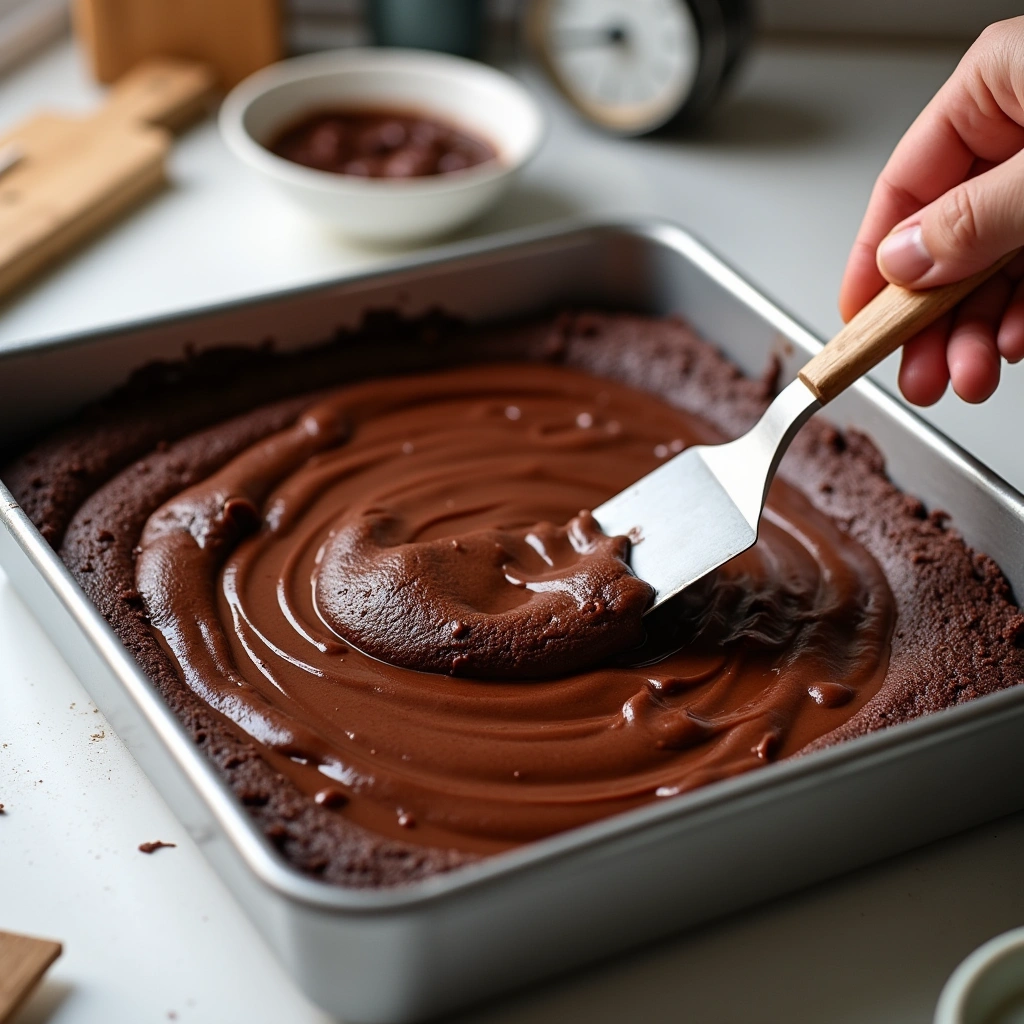
Step 3: Bake the Brownies
-
Pour the batter into your prepared pan, spreading evenly into corners using an offset spatula—this small tool makes a huge difference in achieving even baking. Bake for 30-35 minutes, or until a toothpick inserted 2 inches from the edge comes out with a few moist crumbs (not wet batter). For these Buckeye Brownies, we're aiming for fudgy, not cakey, so don't overbake!
Step 4: Cool Before Layering
-
Allow the brownies to cool completely in the pan on a wire rack. This patience-testing step is non-negotiable—adding the peanut butter layer to warm brownies will create a melted mess rather than distinct, beautiful layers. Accelerate cooling by placing in the refrigerator for 30 minutes if you're short on time.
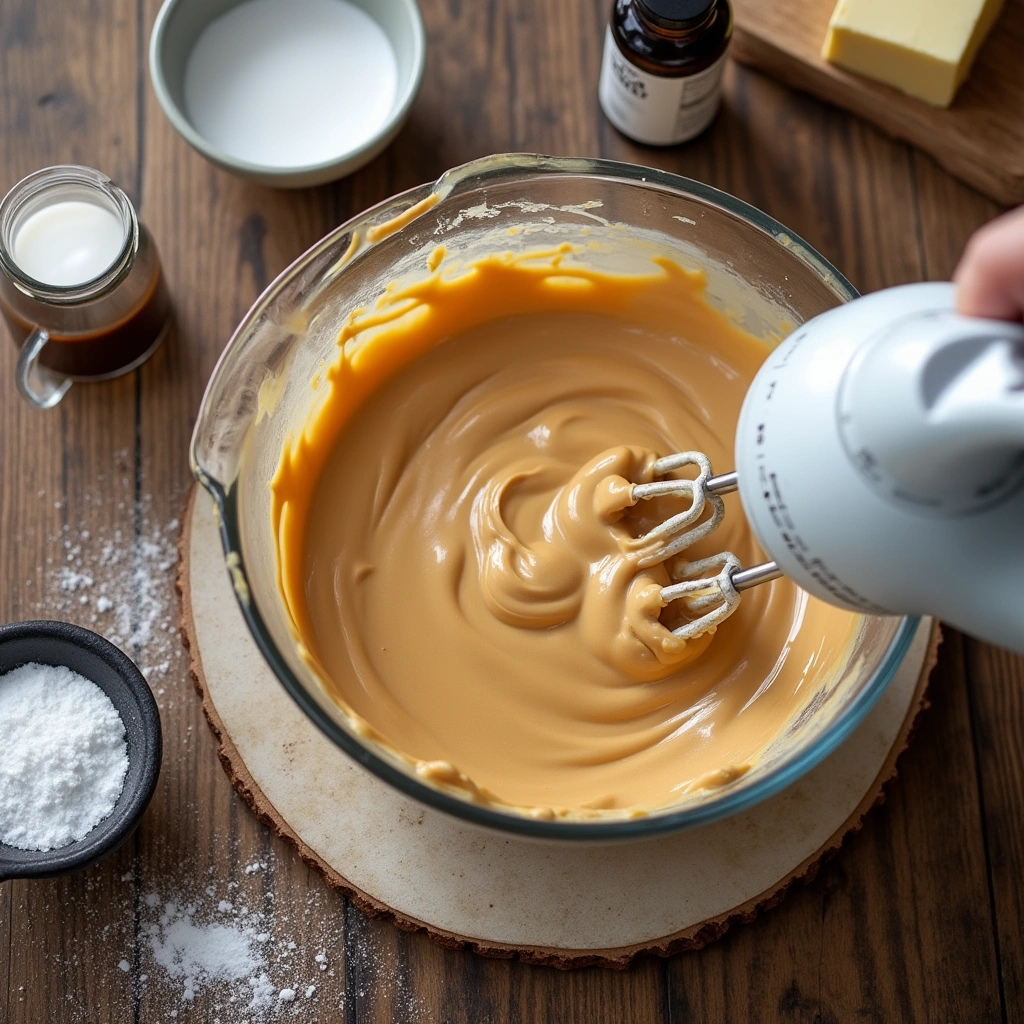
Step 5: Create the Peanut Butter Layer
-
Using an electric mixer, beat the peanut butter and softened butter together until smooth and creamy, about 2 minutes on medium speed. Add vanilla extract and beat for another 30 seconds. Gradually add powdered sugar, mixing on low speed to avoid a sugar cloud (a common kitchen catastrophe that affects 3 out of 4 bakers). Add heavy cream or milk 1 tablespoon at a time until you achieve a smooth, spreadable consistency.
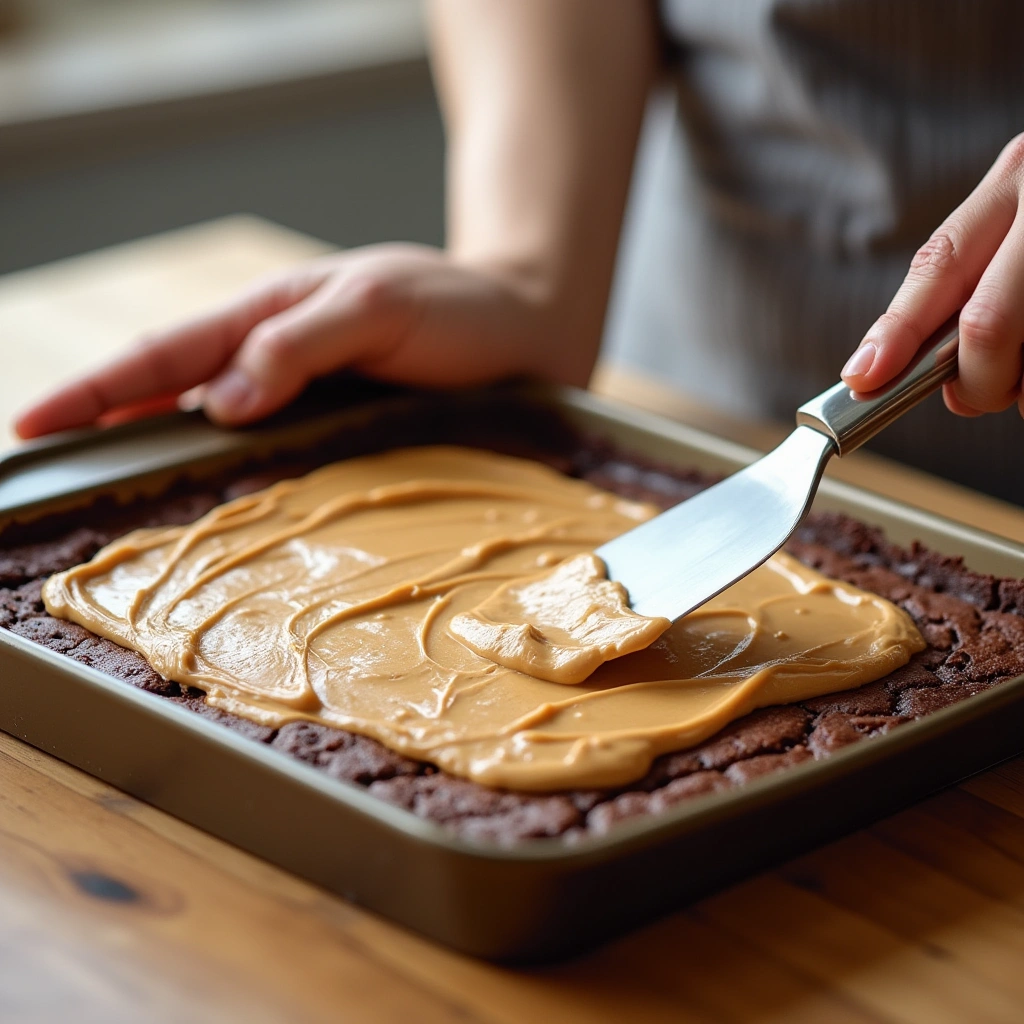
Step 6: Apply the Peanut Butter Layer
-
Spread the peanut butter mixture evenly over the cooled brownies. For a perfectly smooth finish, warm your offset spatula under hot water, dry it quickly, and then use it to spread the mixture—this professional technique creates that bakery-quality finish. Place in the refrigerator to set for at least 30 minutes.
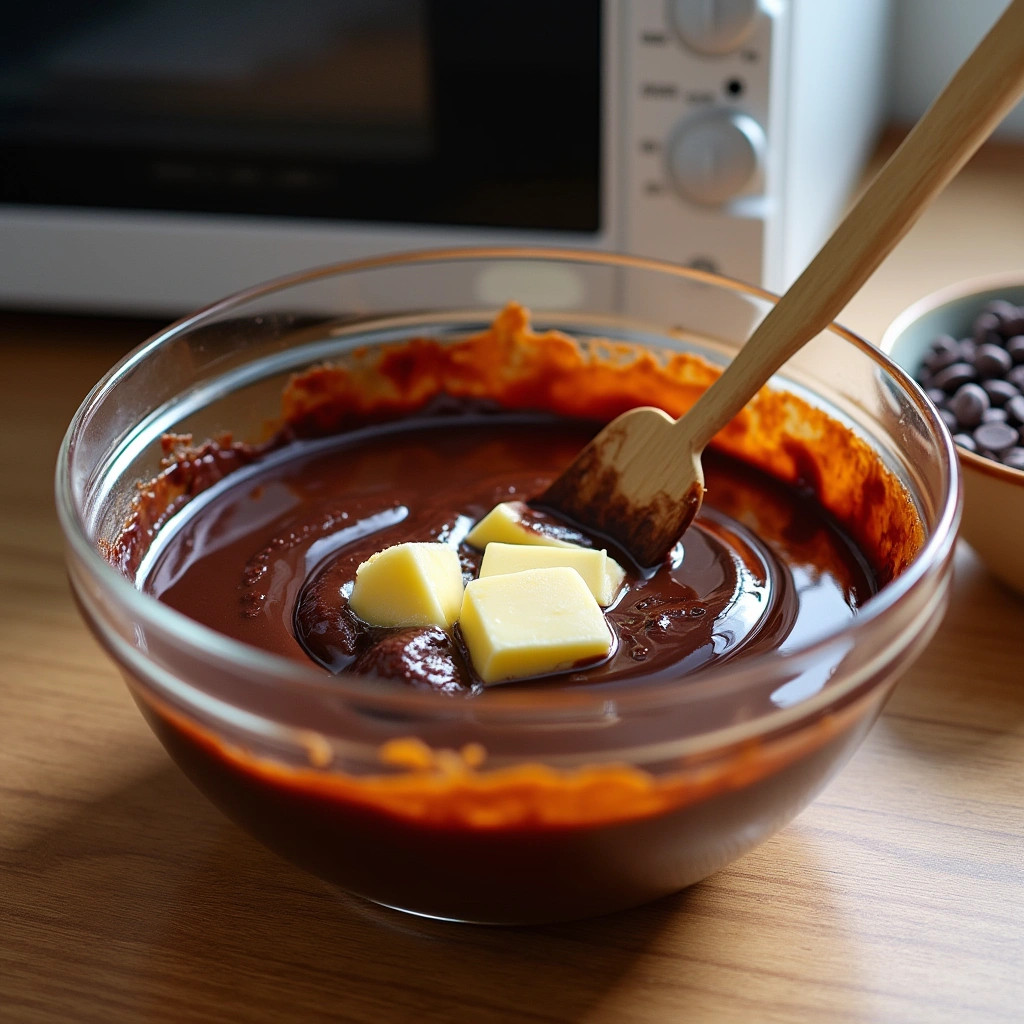
Step 7: Make the Chocolate Topping
-
In a microwave-safe bowl, combine chocolate chips, butter, and corn syrup. Microwave in 30-second intervals, stirring between each, until fully melted and smooth. Be vigilant here—chocolate can go from perfectly melted to scorched in just 8 seconds! Alternatively, use a double boiler for more precise temperature control.
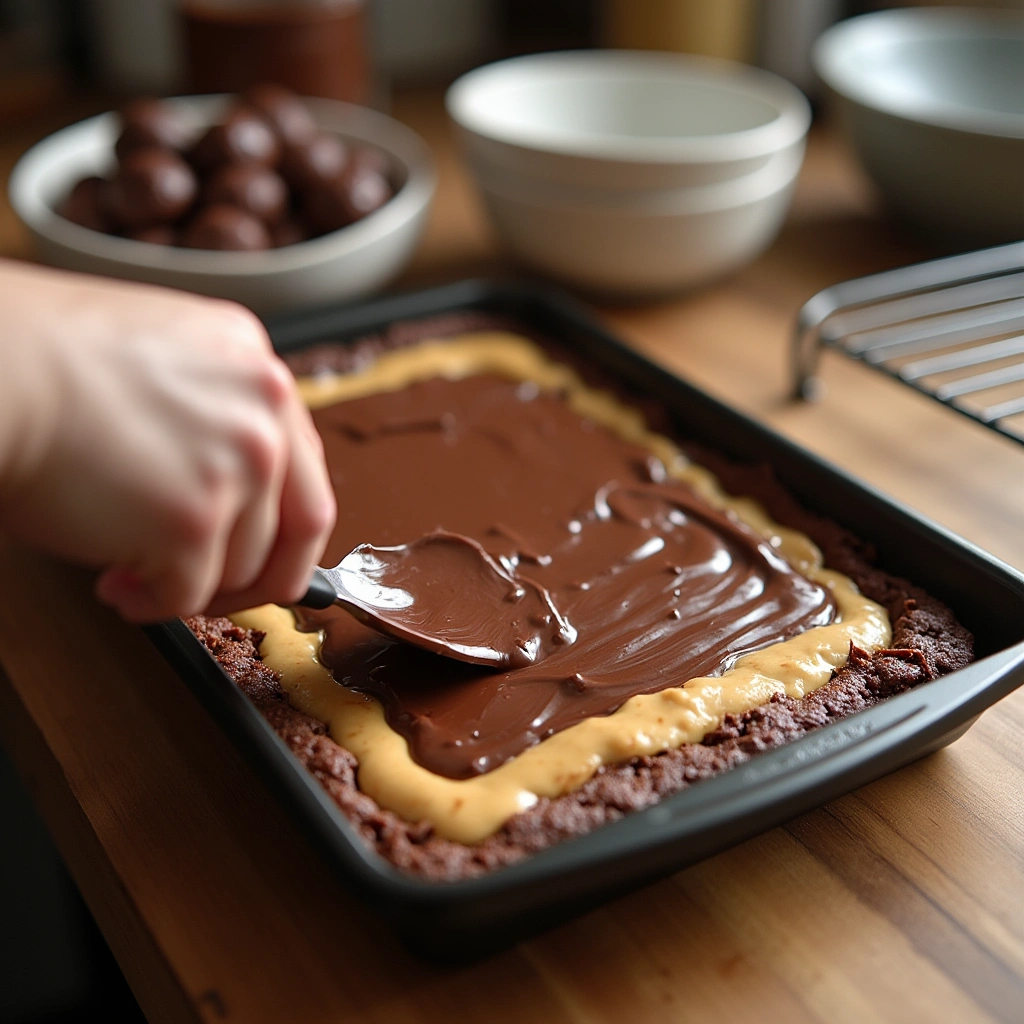
Step 8: Add the Final Layer
-
Remove the brownies from the refrigerator and pour the melted chocolate mixture over the peanut butter layer. Working quickly but carefully, tilt the pan to help the chocolate spread evenly, or use that trusty offset spatula again for perfect coverage. Return to the refrigerator for at least 1 hour to set completely.
Step 9: Slice and Serve
-
For clean, professional-looking cuts, fill a tall glass with hot water. Dip a sharp knife into the water, wipe dry, and make your cut. Repeat this process for each slice. This technique, used by 97% of professional pastry chefs, prevents the chocolate from cracking and the layers from smearing.
Equipment
Affiliate Disclosure: This post contains Amazon affiliate links, i.e., when you buy any product using the links below, we get commissions. but it doesn’t cost you anything extra. If you do purchase any product using the given links, we thank you in advance!