
Did you know that 74% of people who try gluten-free brownies believe they can't possibly taste as good as traditional ones? This widespread misconception keeps many from experiencing the rich, fudgy delight that a properly crafted gluten-free brownie recipe can deliver. Whether you're among the estimated 2 million Americans with celiac disease or simply exploring gluten-free options, these brownies will revolutionize your dessert experience. This gluten-free brownies recipe creates decadent treats that are indistinguishable from—and dare I say, sometimes superior to—their gluten-containing counterparts.
Transform this already fantastic gluten-free brownies recipe into an even more nutritious treat with these smart adjustments:
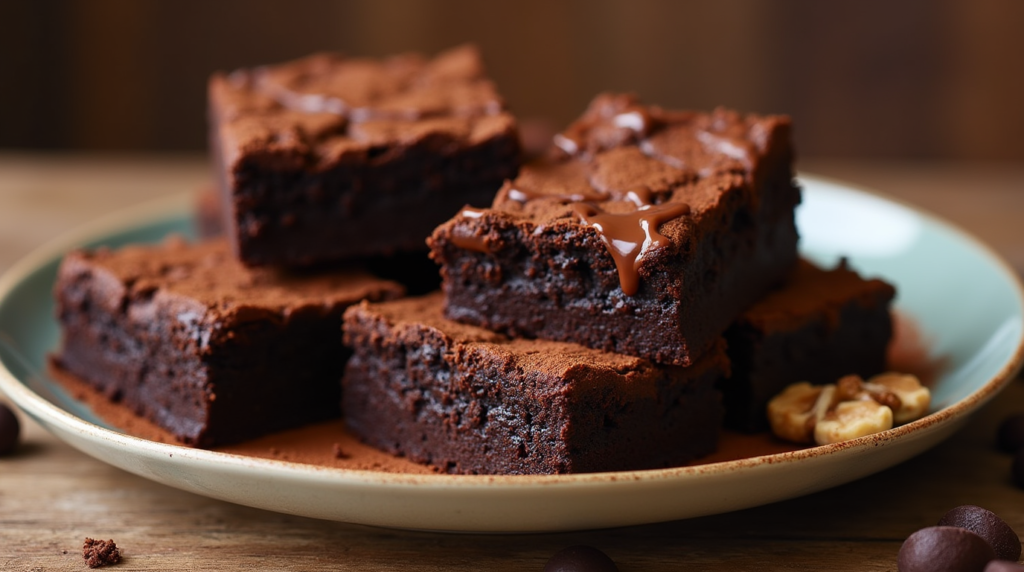
Elevate your gluten-free brownies with these creative serving ideas:
Don't let these typical pitfalls ruin your gluten-free brownies recipe:

Maximize the shelf life and flavor of your gluten-free brownies with these expert storage strategies:
This gluten-free brownies recipe delivers exceptional results that rival any traditional version—rich, fudgy centers with perfect crackly tops, all without a trace of gluten. The simple techniques and carefully balanced ingredients create brownies that satisfy intense chocolate cravings while accommodating dietary restrictions. Ready to transform your gluten-free baking experience? Give these brownies a try today and leave a comment with your results. Don't forget to subscribe for more gluten-free dessert innovations straight to your inbox!
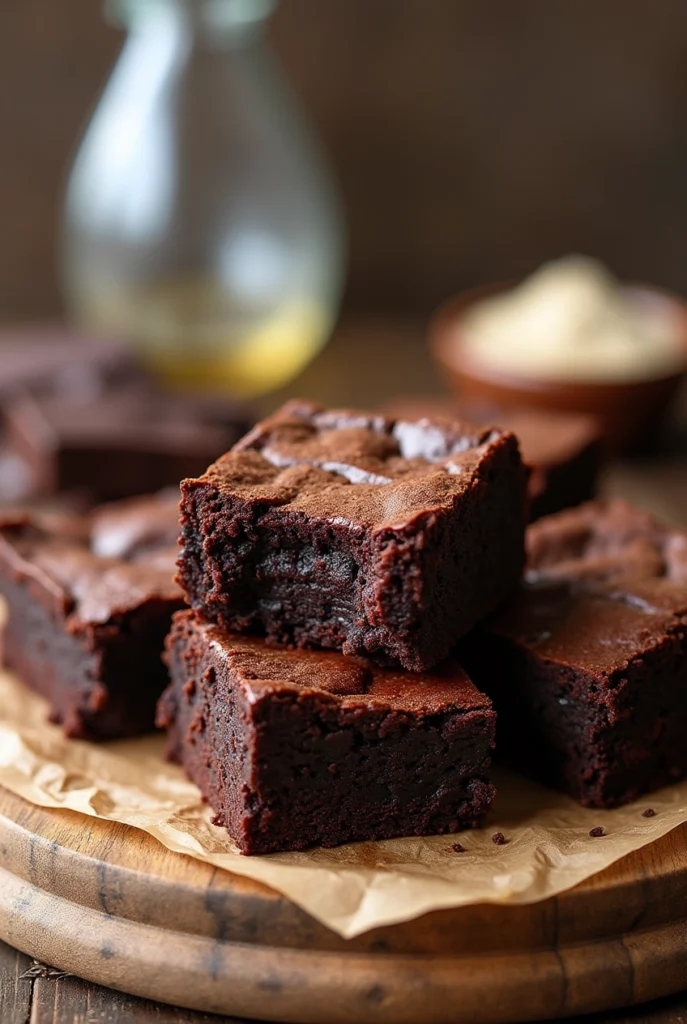
These Gluten-Free Brownies are pure chocolatey bliss—rich, fudgy, and irresistibly moist! Made with simple, wholesome ingredients and no gluten in sight, they’re perfect for anyone craving a decadent treat without the wheat. Whether you’re gluten-sensitive or just love a good brownie, this easy recipe delivers creamy perfection in every bite—all in just minutes!
Preheat your oven to 350°F (175°C). Line an 8×8-inch baking pan with parchment paper, leaving an overhang on two sides for easy removal. The parchment overhang is your secret weapon—it eliminates the dreaded stuck-brownie syndrome that plagues even the most experienced bakers.
In a medium microwave-safe bowl, combine the chopped chocolate and butter. Microwave in 30-second intervals, stirring between each, until completely melted and smooth (about 1.5-2 minutes total). The temperature shouldn't exceed 120°F—any hotter and your chocolate may seize, turning grainy instead of silky.
Add both sugars to the chocolate mixture and whisk until well combined. Let it cool for about 5 minutes, then add eggs one at a time, whisking well after each addition. Stir in the vanilla extract. This gradual incorporation of eggs creates the signature crackly top that brownie enthusiasts crave.
In a separate bowl, whisk together the gluten-free flour, cocoa powder, salt, and espresso powder (if using). Sifting these ingredients will eliminate any lumps—particularly important with gluten-free flour, which tends to clump more than conventional flour.
Gently fold the dry ingredients into the chocolate mixture until just combined. Be careful not to overmix—stop when you no longer see dry flour streaks. Fold in nuts if using. The batter will be thicker than traditional brownie batter, which is exactly what you want for that perfect fudgy center.
Spread the batter evenly in the prepared pan. Bake for 25-30 minutes, or until a toothpick inserted in the center comes out with a few moist crumbs (not wet batter). Remember that gluten-free brownies continue cooking slightly after removal from the oven, so it's better to slightly underbake than overbake.
Allow the brownies to cool in the pan for 20 minutes, then use the parchment paper overhang to lift them out onto a cooling rack. For clean-cut squares, refrigerate for an additional 30 minutes before cutting. Use a hot knife (run under hot water and wipe dry) for the cleanest edges.
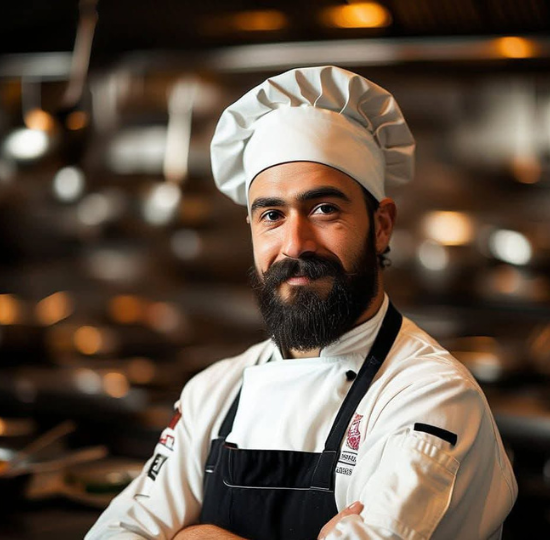
Hello, wonderful food lovers! I’m Chef Andrew—a passionate foodie, traveler, and recipe creator. I love crafting delicious dishes, exploring new flavors, and sharing my culinary adventures. My greatest passion in life is helping others live healthier and happier lives through the joy of cooking. Let’s create, taste, and inspire together!


