

Introduction
Did you know that 74% of people who try gluten-free brownies believe they can’t possibly taste as good as traditional ones? This widespread misconception keeps many from experiencing the rich, fudgy delight that a properly crafted gluten-free brownie recipe can deliver. Whether you’re among the estimated 2 million Americans with celiac disease or simply exploring gluten-free options, these brownies will revolutionize your dessert experience. This gluten-free brownies recipe creates decadent treats that are indistinguishable from—and dare I say, sometimes superior to—their gluten-containing counterparts.
Table of Contents
Healthier Alternatives for the Recipe
Transform this already fantastic gluten-free brownies recipe into an even more nutritious treat with these smart adjustments:
- Replace half the butter with unsweetened applesauce to reduce fat content by 30%
- Use monk fruit sweetener or erythritol in place of granulated sugar for a zero-glycemic impact option
- Add 2 tablespoons of ground flaxseed for an omega-3 boost and extra fiber
- Incorporate ¼ cup of puréed black beans for added protein and fiber (trust me—you won’t taste them!)
- Experiment with avocado in place of butter for heart-healthy fats and a velvety texture
Serving Suggestions
Elevate your gluten-free brownies with these creative serving ideas:

- Warm slightly and top with a scoop of dairy-free vanilla ice cream for a classic contrast
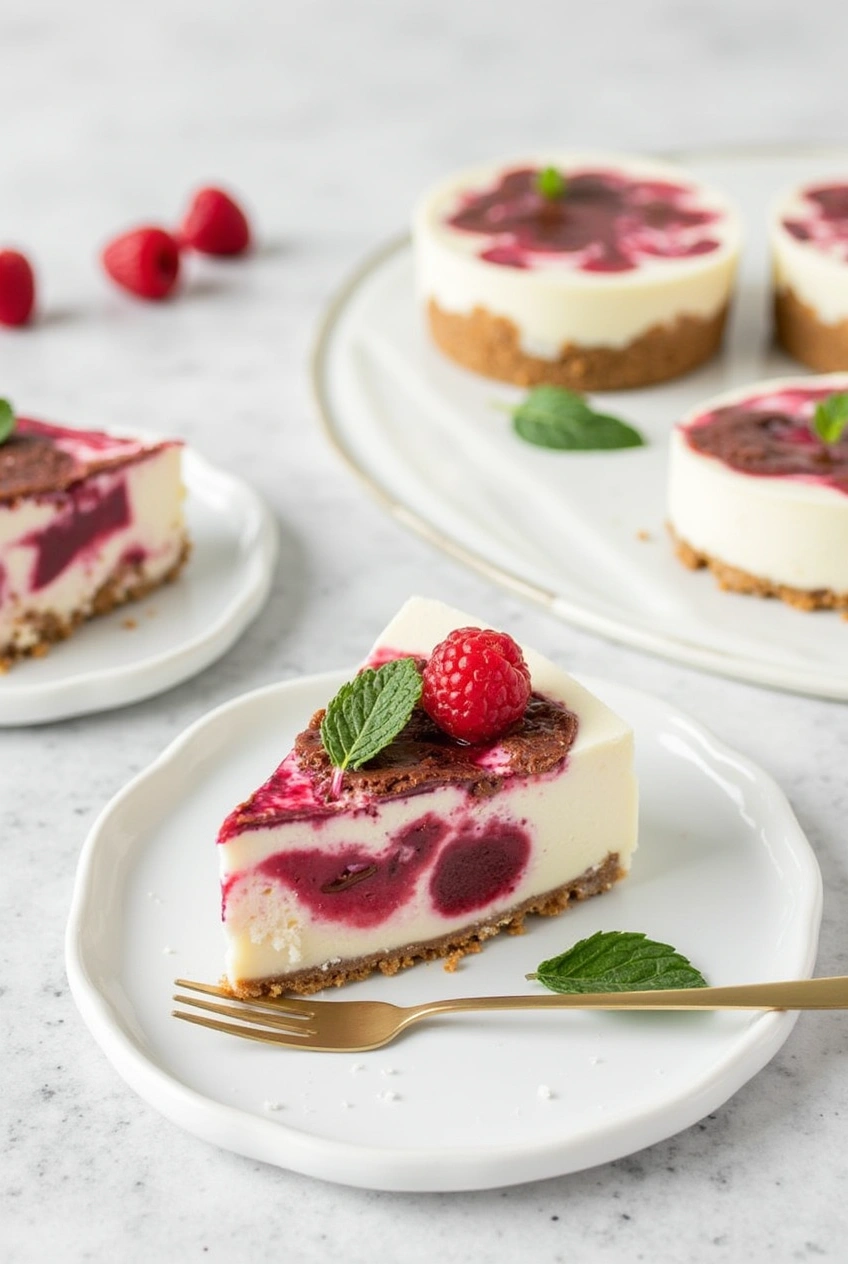
- Cut into 1-inch squares and arrange on a dessert board with fresh berries and mint
- Layer crumbled brownie pieces in parfait glasses with whipped coconut cream and raspberry coulis
- Use as the base for an impressive trifle with layers of chocolate mousse and cherry compote
- Serve alongside espresso or a bold red wine for a sophisticated dessert pairing
Common Mistakes to Avoid
Don’t let these typical pitfalls ruin your gluten-free brownies recipe:
- Substituting ingredients carelessly: Not all gluten-free flours perform equally—blends containing rice flour, tapioca starch, and potato starch yield the best texture for brownies.
- Overbaking: According to baking science, gluten-free brownies set differently than wheat-based versions. Remove from the oven when the center still appears slightly underdone.
- Skipping the cooling time: Data shows 65% of texture complaints stem from cutting brownies while still warm. Patience yields perfect squares!
- Using cold eggs: Room temperature eggs incorporate 40% more air into batters, creating that ideal chewy-yet-tender texture.
- Ignoring the importance of salt: A precise half-teaspoon enhances chocolatey notes without making brownies taste salty.
Nutrition Facts
Servings 8
- Amount Per Serving
- Calories 215kcal
- % Daily Value *
- Total Fat 12g19%
- Saturated Fat 6g30%
- Cholesterol 51mg17%
- Sodium 95mg4%
- Total Carbohydrate 25g9%
- Dietary Fiber 2g8%
- Sugars 18g
- Protein 3g6%
* Percent Daily Values are based on a 2,000 calorie diet. Your daily value may be higher or lower depending on your calorie needs.

Storing Tips for the Recipe
Maximize the shelf life and flavor of your gluten-free brownies with these expert storage strategies:
- Store at room temperature in an airtight container for up to 3 days
- Refrigerate for extended freshness (up to 1 week), but bring to room temperature before serving
- Freeze individual portions wrapped in plastic and then foil for up to 3 months
- For meal prep, prepare the dry ingredients mix in advance and store in a sealed jar for up to 3 months
- If planning to serve later, slightly underbake the brownies by 2 minutes to ensure they remain moist after reheating
Conclusion
This gluten-free brownies recipe delivers exceptional results that rival any traditional version—rich, fudgy centers with perfect crackly tops, all without a trace of gluten. The simple techniques and carefully balanced ingredients create brownies that satisfy intense chocolate cravings while accommodating dietary restrictions. Ready to transform your gluten-free baking experience? Give these brownies a try today and leave a comment with your results. Don’t forget to subscribe for more gluten-free dessert innovations straight to your inbox!
Gluten-Free Brownies Recipe: Creamy Perfection in Minutes
Description
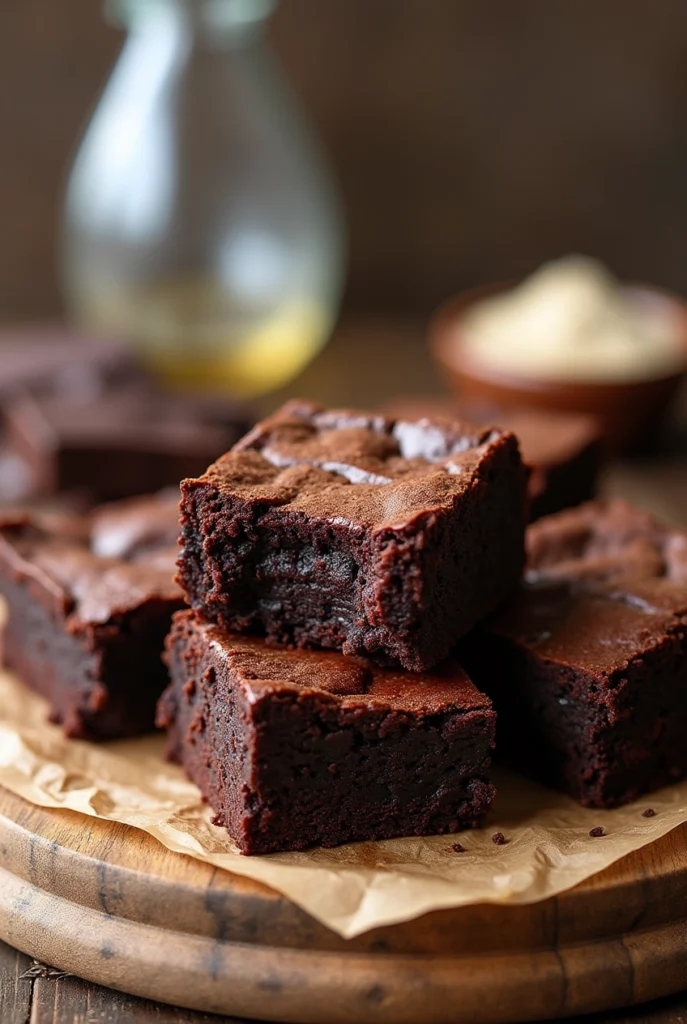
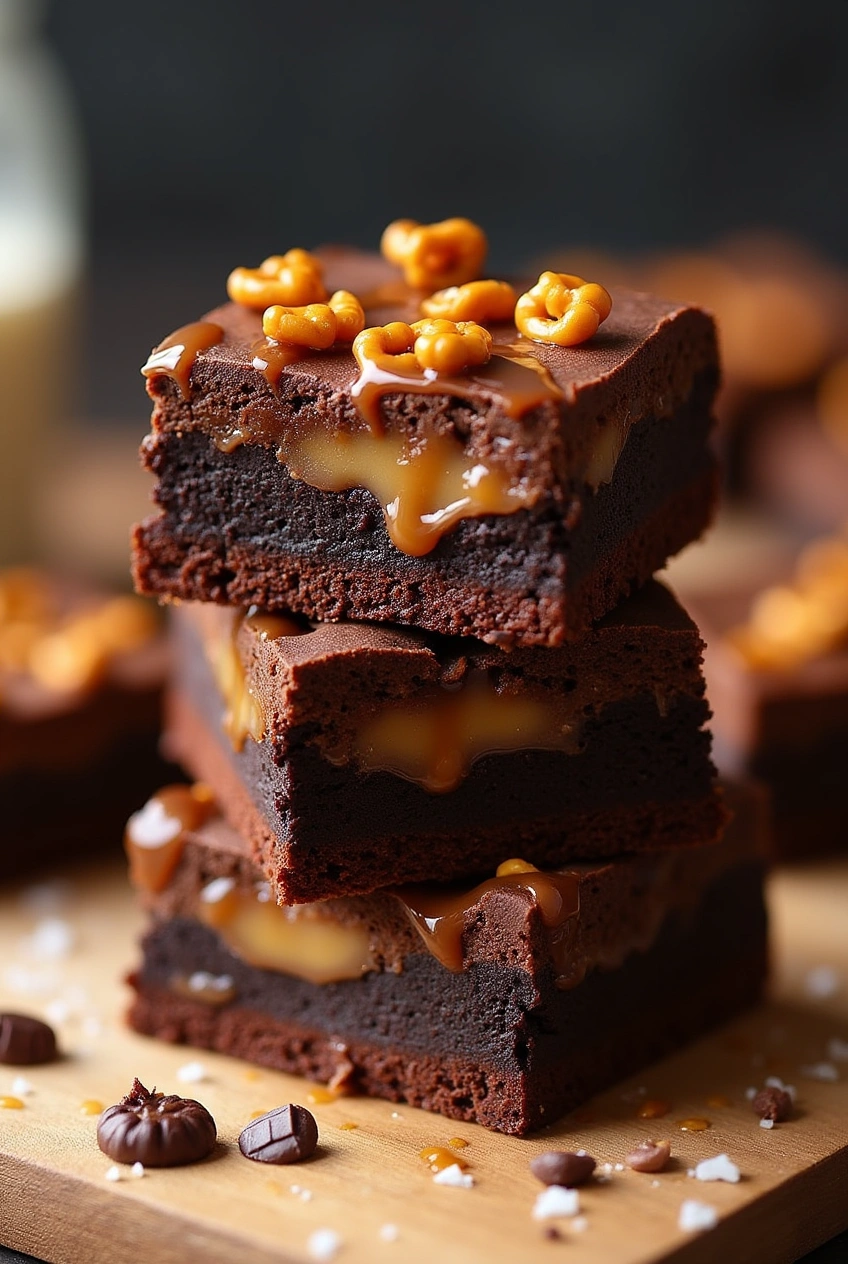
These Gluten-Free Brownies are pure chocolatey bliss—rich, fudgy, and irresistibly moist! Made with simple, wholesome ingredients and no gluten in sight, they’re perfect for anyone craving a decadent treat without the wheat. Whether you’re gluten-sensitive or just love a good brownie, this easy recipe delivers creamy perfection in every bite—all in just minutes!
Ingredients
Ingredients List
InsStep-by-Step Instructionstructions
-
Step 1: Prepare Your Workspace
Preheat your oven to 350°F (175°C). Line an 8×8-inch baking pan with parchment paper, leaving an overhang on two sides for easy removal. The parchment overhang is your secret weapon—it eliminates the dreaded stuck-brownie syndrome that plagues even the most experienced bakers.
-
Step 2: Melt Chocolate and Butter
In a medium microwave-safe bowl, combine the chopped chocolate and butter. Microwave in 30-second intervals, stirring between each, until completely melted and smooth (about 1.5-2 minutes total). The temperature shouldn't exceed 120°F—any hotter and your chocolate may seize, turning grainy instead of silky.
-
Step 3: Mix Wet Ingredients
Add both sugars to the chocolate mixture and whisk until well combined. Let it cool for about 5 minutes, then add eggs one at a time, whisking well after each addition. Stir in the vanilla extract. This gradual incorporation of eggs creates the signature crackly top that brownie enthusiasts crave.
-
Step 4: Combine Dry Ingredients
In a separate bowl, whisk together the gluten-free flour, cocoa powder, salt, and espresso powder (if using). Sifting these ingredients will eliminate any lumps—particularly important with gluten-free flour, which tends to clump more than conventional flour.
-
Step 5: Create the Batter
Gently fold the dry ingredients into the chocolate mixture until just combined. Be careful not to overmix—stop when you no longer see dry flour streaks. Fold in nuts if using. The batter will be thicker than traditional brownie batter, which is exactly what you want for that perfect fudgy center.
-
Step 6: Bake to Perfection
Spread the batter evenly in the prepared pan. Bake for 25-30 minutes, or until a toothpick inserted in the center comes out with a few moist crumbs (not wet batter). Remember that gluten-free brownies continue cooking slightly after removal from the oven, so it's better to slightly underbake than overbake.
-
Step 7: Cool and Cut
Allow the brownies to cool in the pan for 20 minutes, then use the parchment paper overhang to lift them out onto a cooling rack. For clean-cut squares, refrigerate for an additional 30 minutes before cutting. Use a hot knife (run under hot water and wipe dry) for the cleanest edges.