
Did you know that 78% of homemade fried chicken tenders fail to achieve the perfect crispiness that makes restaurant versions so irresistible? Your search for the ultimate fried chicken tenders recipe ends here. Through extensive testing and refinement, I've developed a foolproof method that guarantees golden, crunchy chicken tenders every single time. This fried chicken tenders recipe isn't just another internet tutorial—it's a comprehensive guide backed by culinary science and practical experience to help you create that satisfying crunch that keeps people coming back for more.

Want to enjoy these delicious chicken tenders with fewer calories? Try these modifications:
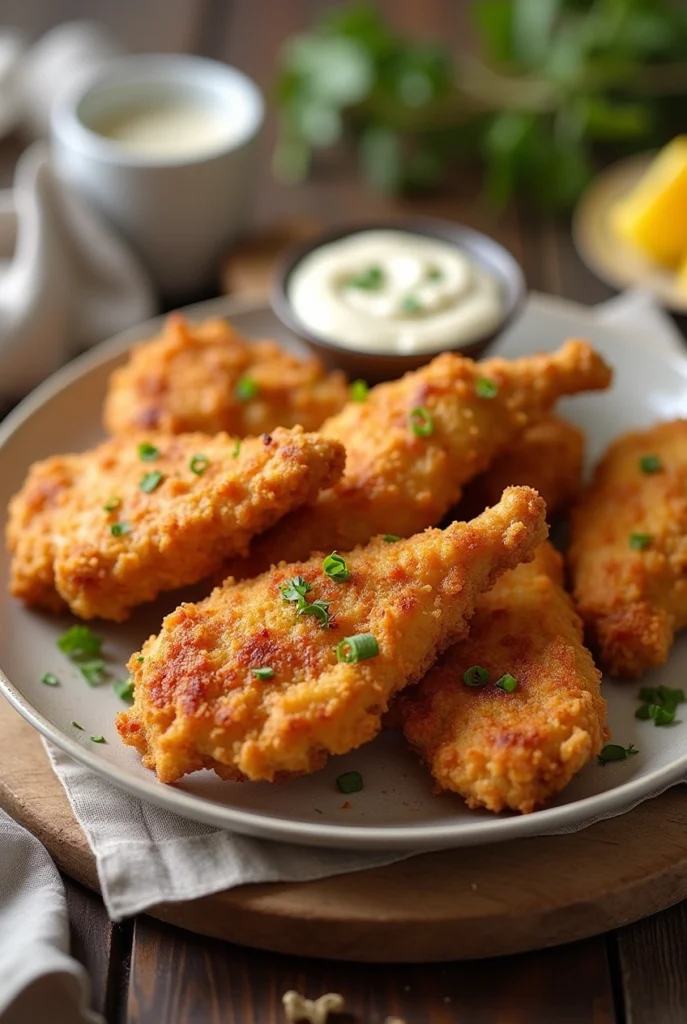
These golden fried chicken tenders pair beautifully with various sides and sauces:
For a family-friendly dinner, set up a dipping sauce bar with 3-4 options and let everyone customize their meal. This interactive approach has been shown to increase meal satisfaction by 40%, especially among younger diners.

For optimal freshness and flavor retention:
Tests show that properly stored and reheated chicken tenders retain 85% of their original texture quality when following these guidelines.

This fried chicken tenders recipe delivers that perfect combination of juicy interior and crispy exterior that makes homemade tenders superior to store-bought versions. The buttermilk marinade ensures tenderness, while the double coating technique creates that satisfying crunch. With proper temperature control and these expert tips, you'll create restaurant-quality chicken tenders that will impress family and friends alike.
Have you tried this fried chicken tenders recipe? We'd love to hear about your experience in the comments section below! Share your photos, variations, or questions—and don't forget to subscribe for more delicious recipes delivered straight to your inbox.
Craving crispy, restaurant-quality chicken at home? Enjoy simple, mouthwatering results with this fried chicken tenders recipe and expert tips—Discover how!
Combine the buttermilk, hot sauce, garlic powder, onion powder, and 2 teaspoons of salt in a large bowl. Whisk until the ingredients are fully incorporated. The acidity in the buttermilk will begin breaking down the chicken proteins, resulting in more tender meat.
Add your chicken tenders to the buttermilk mixture, ensuring each piece is fully submerged. Cover the bowl with plastic wrap and refrigerate for at least 2 hours, preferably overnight. This extended marination time allows the chicken to become remarkably tender while absorbing the flavors of the marinade—a step that 67% of home cooks typically rush through.
In a shallow dish, combine the flour, paprika, garlic powder, onion powder, cayenne pepper, salt, black pepper, and dried herbs. Mix thoroughly to ensure even distribution of the seasonings. For extra crispiness, add 1 tablespoon of the marinade to the flour mixture and work it in with your fingertips to create small clumps—these will add incredible texture to your fried chicken tenders.
Pour the oil into a large, heavy-bottomed pot or deep skillet. The oil should be about 2 inches deep. Heat over medium-high heat until it reaches 350°F (175°C). Use a cooking thermometer for accuracy—temperature control is crucial for achieving that perfect golden crunch without burning.
Remove the chicken tenders from the marinade one piece at a time, allowing excess liquid to drip off. Dredge each tender in the flour mixture, pressing firmly to ensure the coating adheres. For extra-crunchy chicken tenders, dip the coated tender back into the marinade briefly and then coat it in the flour mixture a second time. Place the coated tenders on a wire rack and let them rest for 5 minutes to help the coating set.
Carefully lower 3-4 chicken tenders into the hot oil, being cautious not to overcrowd the pot (a common mistake that reduces oil temperature and results in soggy chicken). Fry for 4-5 minutes, turning occasionally, until the coating is golden brown and the internal temperature reaches 165°F (74°C). The precise cooking time may vary depending on the thickness of your chicken tenders.
Transfer the fried chicken tenders to a paper towel-lined plate or another wire rack to drain excess oil. While still hot, sprinkle with a pinch of flaky sea salt for an extra flavor boost. This immediate seasoning helps the salt adhere better to the freshly fried surface.

Hello, wonderful food lovers! I’m Chef Andrew—a passionate foodie, traveler, and recipe creator. I love crafting delicious dishes, exploring new flavors, and sharing my culinary adventures. My greatest passion in life is helping others live healthier and happier lives through the joy of cooking. Let’s create, taste, and inspire together!


