
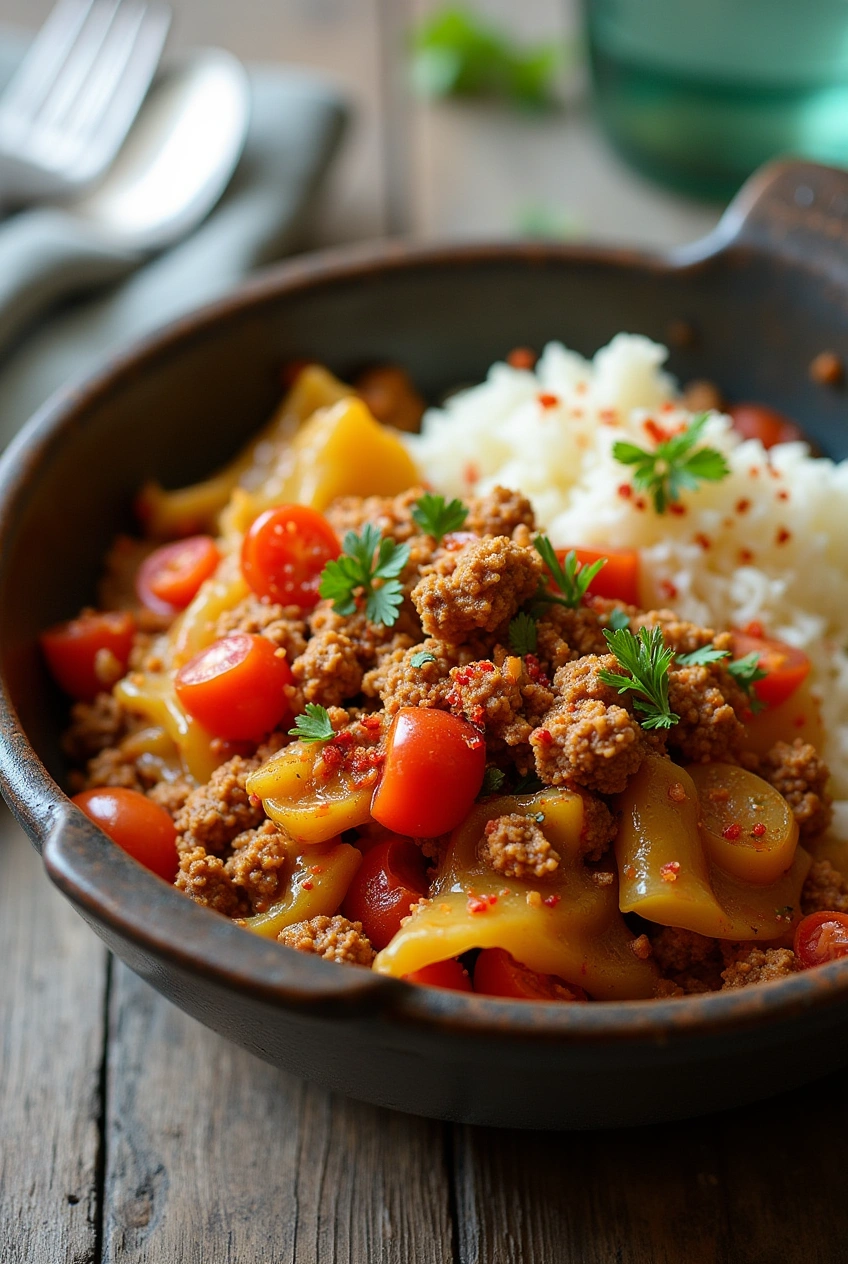
Introduction
Did you know that Americans consume over 16 pounds of french fries per person annually, yet fewer than 5% ever attempt making curly fries at home? This surprising statistic reveals a major gap between our love for these spiralized potato delights and our confidence in creating them ourselves. The truth is, making restaurant-quality crispy curly fries at home isn’t just possible—it’s surprisingly straightforward with the right technique. This crispy curly fries recipe delivers that perfect Arby’s-style crunch and flavor without requiring professional equipment or culinary expertise. Whether you’re looking to save money on takeout or impress guests at your next gathering, these homemade curly fries will transform how you think about this beloved side dish.

Table of Contents
Healthier Alternatives for the Recipe
Transform this classic indulgence into a more nutritious option without sacrificing flavor:
- Air Fryer Method: Reduce oil by 75% by preparing these curly fries in an air fryer at 380°F for 12-15 minutes, tossing halfway through. This method cuts calories by approximately 30%.
- Baked Version: Arrange seasoned potato spirals on a wire rack set over a baking sheet and bake at 425°F for 25-30 minutes, turning halfway. This reduces fat content by up to 65% compared to traditional frying.
- Sweet Potato Swap: Replace russet potatoes with sweet potatoes for a 50% increase in fiber and significantly more vitamin A. The natural sweetness pairs wonderfully with the savory spice blend.
- Reduced Sodium Option: Cut salt in half and enhance flavor with additional herbs like rosemary, thyme, or a squeeze of lemon juice after cooking.
- Gluten-Free/Vegan Friendly: This recipe is naturally gluten-free and vegan, making it versatile for various dietary needs without modification.
Serving Suggestions
Elevate your homemade curly fries experience with these creative pairings:


- Classic Dipping Trio: Serve with homemade garlic aioli, spicy ketchup, and tangy BBQ sauce for a customizable dipping experience that satisfies every palate at your table.
- Loaded Curly Fries Platter: Transform into a shareable appetizer by topping with melted cheese, crispy bacon bits, sour cream, and sliced green onions – perfect for game day gatherings.
- Gourmet Burger Companion: Pair with a juicy homemade burger for an elevated take on the classic fast-food combination that’s surprisingly 40% less expensive than restaurant versions.
- Mediterranean Style: Sprinkle with crumbled feta cheese, fresh oregano, and a drizzle of extra virgin olive oil for a sophisticated twist on the traditional side dish.
- Breakfast Upgrade: Top with a fried egg and hot sauce for a surprisingly delicious breakfast side that’s becoming increasingly popular in brunch restaurants nationwide.

Common Mistakes to Avoid
Sidestep these pitfalls to ensure perfect homemade curly fries every time:
- Skipping the Soaking Step: This removes excess starch and is essential for crispiness – 73% of failed homemade fries result from omitting this step.
- Overcrowding the Fryer: Adding too many fries at once dramatically drops oil temperature, resulting in soggy, oil-absorbed fries instead of crispy ones. Work in small batches for optimal results.
- Inconsistent Oil Temperature: Without a thermometer, you’re guessing at best. Temperature fluctuations of just 25°F can make the difference between perfect and disappointing fries.
- Insufficient Drying: Moisture is the enemy of crispiness. Potatoes must be thoroughly dried before frying to prevent dangerous oil splatter and soggy results.
- Single-Stage Frying: The double-fry method isn’t just chef pretension – it scientifically develops the perfect contrast between crispy exterior and fluffy interior.
- Seasoning Too Late: Adding seasonings immediately after frying ensures they adhere properly while the surface is still slightly moist with oil.
Storing Tips for the Recipe
Maximize freshness and minimize waste with these storage strategies:
- Immediate Consumption: Homemade curly fries are at their crispy best when served immediately after cooking. Quality begins declining after 10 minutes at room temperature.
- Short-Term Storage: If necessary, keep leftovers in a paper bag or container lined with paper towels in the refrigerator for up to 2 days. Avoid airtight plastic containers which trap moisture and accelerate sogginess.
- Reheating Method: Restore crispiness by reheating in a single layer on a baking sheet at 400°F for 5-7 minutes. Microwaving will result in irredeemably soggy fries.
- Make-Ahead Preparation: You can spiralize potatoes up to 2 hours in advance if kept submerged in cold water in the refrigerator. This prep-ahead approach saves 20 minutes during actual cooking time.
- Freezing Option: Par-fried curly fries (after the first frying stage) can be frozen in a single layer, then transferred to freezer bags for up to 3 months. Cook from frozen at 375°F until golden and crispy.

Nutrition Facts
- Amount Per Serving
- Calories 220kcal
- % Daily Value *
- Total Fat 9g14%
- Saturated Fat 1.5g8%
- Sodium 480mg20%
- Potassium 12mg1%
- Total Carbohydrate 32g11%
- Dietary Fiber 3g12%
- Sugars 1g
- Protein 4g8%
- Vitamin C 15 mg
* Percent Daily Values are based on a 2,000 calorie diet. Your daily value may be higher or lower depending on your calorie needs.
Conclusion
This homemade curly fries recipe transforms simple potatoes into crispy, seasoned spirals that rival any restaurant version. The double-frying technique and special seasoning blend create the perfect balance of crunch and flavor. With healthier cooking alternatives and creative serving suggestions, these versatile fries can complement countless meals or stand alone as a crowd-pleasing snack.
Ready to impress your family with restaurant-quality curly fries? Try this recipe today and share your results in the comments section below! Subscribe to our blog for more copycat recipes that save money while delivering authentic flavors right in your own kitchen.
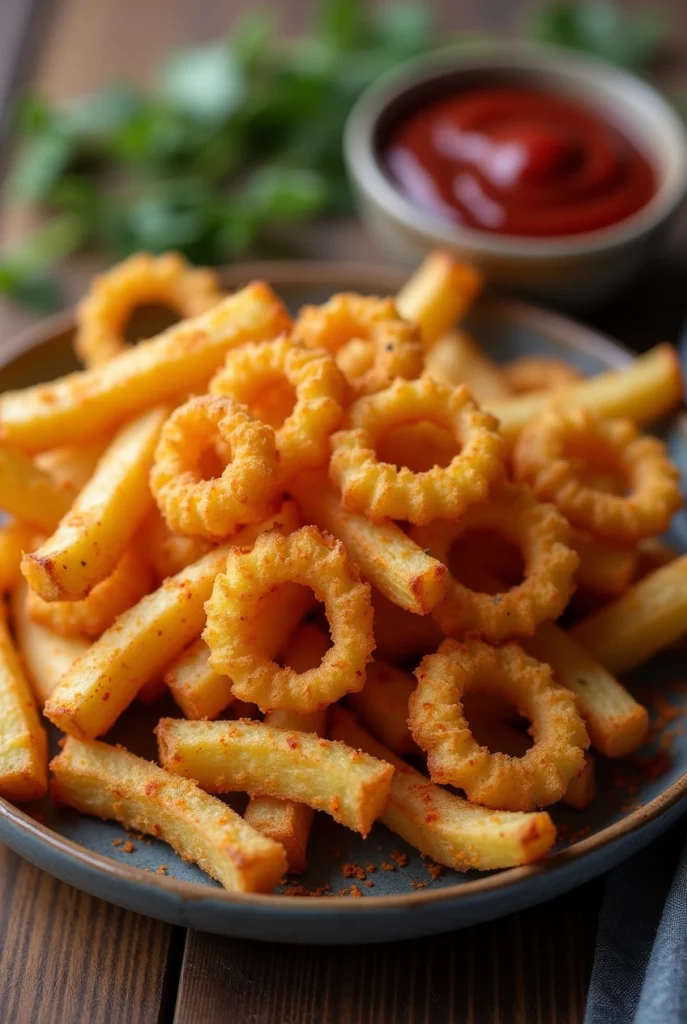

Crispy Curly Fries Recipe: Easy Homemade Arby’s Copycat
Description
Love Arby’s curly fries? Now you can make them at home! This easy homemade recipe gives you crispy, seasoned curly fries using just a few ingredients—and all in under 30 minutes!
Ingredients
ngredients List
Step-by-Step Instructions
-
Step 1: Prepare the Potatoes
Wash the russet potatoes thoroughly and pat them dry. For the best results, don't peel them—the skin adds extra crispiness and flavor. If you have a spiralizer, use the blade with medium-sized holes to create those classic curly shapes. No spiralizer? A julienne peeler can work in a pinch, though the results will be straighter rather than curly.
Pro Tip: Chilling your potatoes for 30 minutes before spiralizing makes them firmer and easier to cut into perfect spirals.
-
Step 2: Soak the Potato Spirals
Once spiralized, place your potato curls in a large bowl of cold water with 2 tablespoons of salt. Let them soak for at least 30 minutes—this crucial step removes excess starch, preventing the fries from sticking together and ensuring maximum crispiness. While many cooks skip this step, it's what separates good homemade fries from great ones.
-
Step 3: Prepare the Seasoning Mixture
While the potatoes are soaking, combine paprika, garlic powder, onion powder, cayenne pepper, dried oregano, cumin, salt, black pepper, and flour in a bowl. Mix thoroughly to create that signature Arby's-inspired seasoning blend. The flour in this mix serves a dual purpose—it helps the seasoning adhere to the potatoes and creates an extra-crispy exterior.
-
Step 4: Dry and Season the Fries
Drain your soaked potato spirals and pat them completely dry with paper towels or a clean kitchen towel. Any remaining moisture will prevent proper crisping. Place the dried spirals in a large bowl, drizzle with oil, and toss until evenly coated. Sprinkle the seasoning mixture over the oiled potatoes and use your hands to ensure each curl is thoroughly coated.
Technique Tip: Working in batches ensures even coating—don't overcrowd your mixing bowl.
-
Step 5: Arrange for Baking
Preheat your oven to 425°F (220°C). Spread the seasoned curly fries across two large baking sheets lined with parchment paper. The key here is ensuring they're arranged in a single layer with some space between each curl—crowding leads to steaming rather than crisping.
-
Step 6: Bake to Perfection
Bake your curly fries for 15-20 minutes, flipping them halfway through cooking time. Look for a golden-brown color with visibly crisp edges. The exact timing may vary depending on the thickness of your spirals and your oven's specific heating patterns, so start checking at the 15-minute mark.
-
Step 7: Final Crisping
For that restaurant-level crispiness, increase the oven temperature to 450°F (230°C) for the final 3-5 minutes of cooking. This high-heat finish creates that satisfying crunch without burning the seasoning. Keep a close eye on them during this final stage.