
Looking for a quick and easy dessert that tastes like it took hours to make? This 10-Minute No-Bake Cheesecake is the perfect solution. With no oven required, this creamy, rich, and delicious cheesecake comes together in just minutes, making it one of the best easy no-bake easyyou’ll ever try.
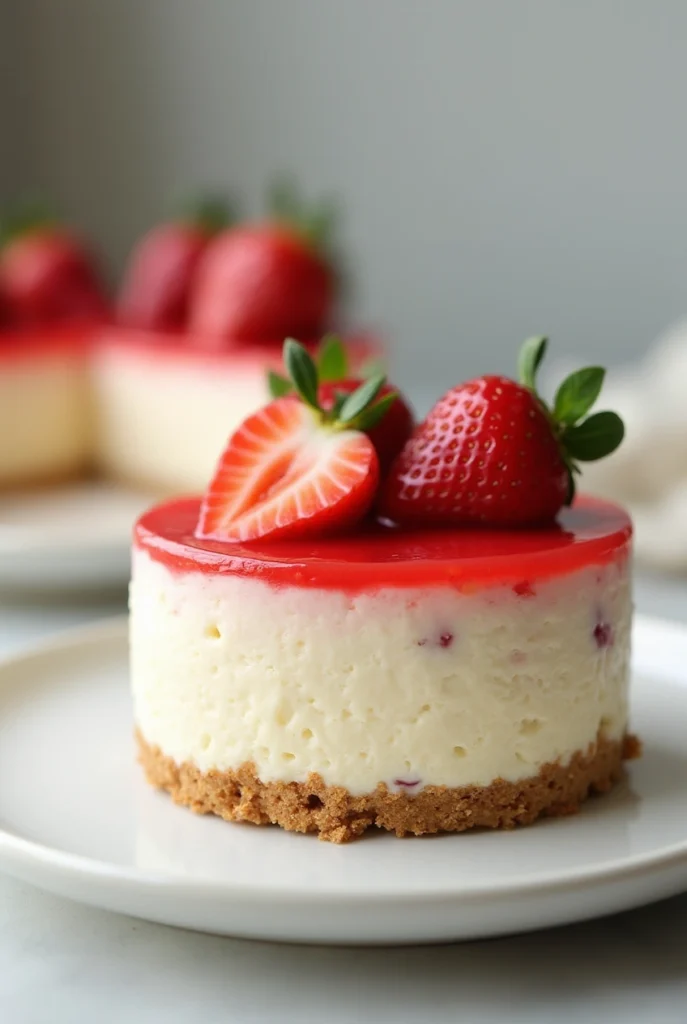
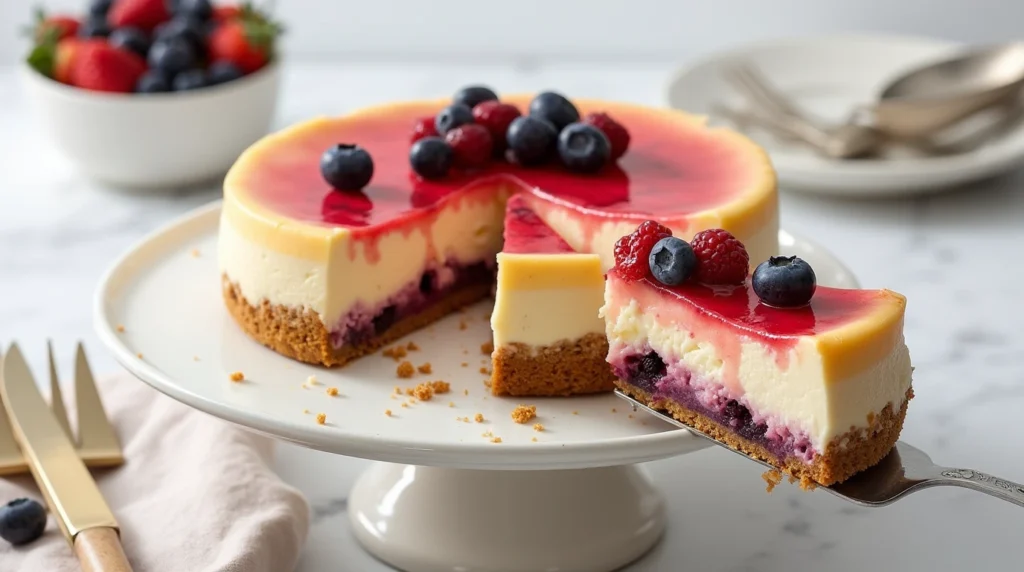
Made with a buttery graham cracker crust and a smooth cream cheese filling, this no-bake cheesecake is ideal for busy weeknights, last-minute guests, or summer days when turning on the oven is out of the question. It’s a light and fluffy dessert that’s satisfying without being too heavy—and it’s incredibly versatile. Add fresh fruit, berry compote, chocolate sauce, or crushed cookies on top to make it your own.
Whether you’re a beginner baker or just short on time, this quick cheesecake recipe is a no-fail favorite that works every time. It’s perfect for special occasions like birthdays, family dinners, holidays, or when you simply want a sweet treat without the wait. Best of all, it stores well in the refrigerator, so you can prepare it in advance and enjoy it whenever the craving hits.
If you’ve been searching for the best no-bake cheesecake recipe that’s both fast and foolproof, you’ve found it. This dessert not only delivers on taste and texture, but it’s also visually stunning, especially when garnished with your favorite toppings.
Save this 10-minute dessert for your go-to recipe box—you’ll love how simple and satisfying it is. Your search for the ultimate easy cheesecake recipe ends here!

Transform this quick dessert recipe into a lighter treat with these smart modifications:
Elevate your quick dessert recipe with these creative serving ideas:

This 10-minute no-bake cheesecake delivers impressive results with minimal effort, making it the ultimate quick dessert recipe for busy home bakers. With its velvety texture, customizable options, and impressive presentation, you'll achieve bakery-quality results in a fraction of the time traditional recipes require. Whether for last-minute entertaining or satisfying weeknight cravings, this versatile dessert has you covered.
We'd love to see your creations! Try this recipe and share your photos in the comments section below. Don't forget to subscribe to our newsletter for more time-saving dessert inspiration delivered straight to your inbox!
This 10-Minute No-Bake Cheesecake is the perfect solution for a fast and fuss-free dessert. With a buttery graham cracker crust and rich cream cheese filling, it’s light, creamy, and topped with your favorite fruits or sauces. Ideal for busy days, last-minute guests, or when you’re craving something sweet without turning on the oven.
Mix graham cracker crumbs, melted butter, sugar, and salt in a medium bowl until the mixture resembles wet sand. Press firmly into the bottom of an 8-inch springform pan or pie dish. Use the bottom of a measuring cup to create a smooth, even surface. For an extra-crisp crust, refrigerate for 10 minutes while preparing the filling.
Pro Tip: Add ½ teaspoon of cinnamon to your crust mixture for a warming flavor dimension that beautifully complements the tangy cheesecake filling.
In a large bowl, beat the softened cream cheese until smooth and fluffy, about 2 minutes. Add the powdered sugar gradually while continuing to beat, ensuring there are no lumps. Mix in the vanilla extract and lemon juice until fully incorporated.
Pro Tip: Ensure your cream cheese is truly at room temperature to avoid lumps. If you're short on time, unwrap and microwave in 10-second bursts, rotating the block between bursts.
In a separate chilled bowl, whip the cold heavy cream until stiff peaks form, about 3-4 minutes. You'll know it's ready when the cream stands up firmly when the beaters are lifted.
Pro Tip: For best results, chill your mixing bowl and beaters in the freezer for 10 minutes before whipping. Cold equipment helps the cream whip faster and achieve better volume.
Gently fold the whipped cream into the cream cheese mixture using a rubber spatula. Use a delicate touch and a figure-eight motion to maintain as much air as possible in the mixture, which ensures a light, fluffy texture.
Pro Tip: Add ⅓ of the whipped cream first to lighten the cheese mixture, then fold in the remaining amount to preserve maximum volume.
Pour the finished filling over your prepared crust, spreading evenly with an offset spatula or the back of a spoon. For a professional finish, run the spatula across the top in a smooth motion.
Pro Tip: Tap the pan gently on the counter a few times to release any trapped air bubbles that could create holes in your finished cheesecake.
For immediate enjoyment, serve right away for a softer, mousse-like consistency. For a firmer, more traditional cheesecake texture, refrigerate for at least 2 hours (or overnight for best results).
Pro Tip: If chilling overnight, cover with plastic wrap that doesn't touch the surface to prevent condensation from forming on your cheesecake.

Hello, wonderful food lovers! I’m Chef Andrew—a passionate foodie, traveler, and recipe creator. I love crafting delicious dishes, exploring new flavors, and sharing my culinary adventures. My greatest passion in life is helping others live healthier and happier lives through the joy of cooking. Let’s create, taste, and inspire together!


