

Introduction
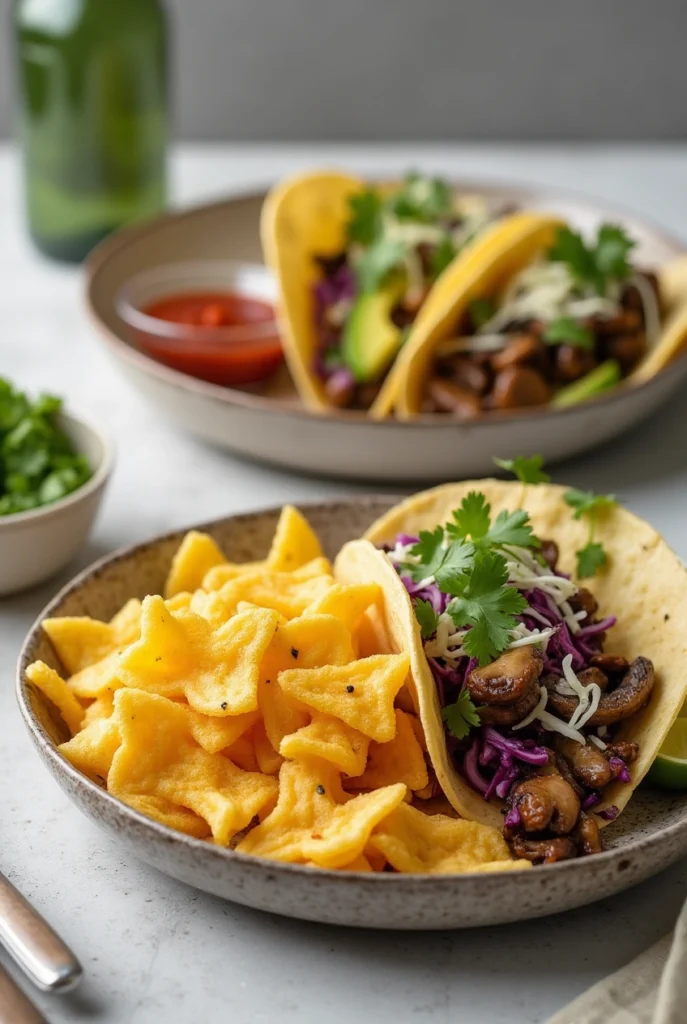
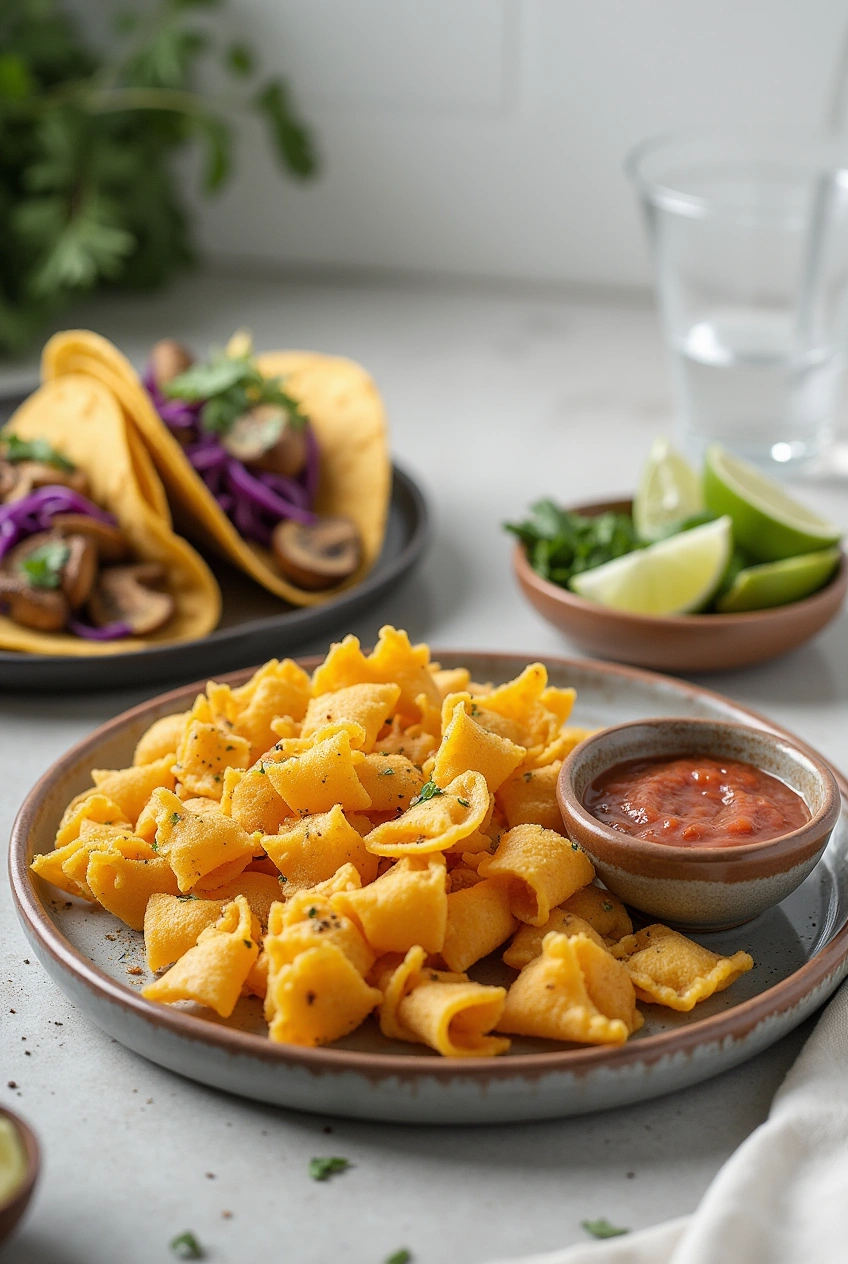
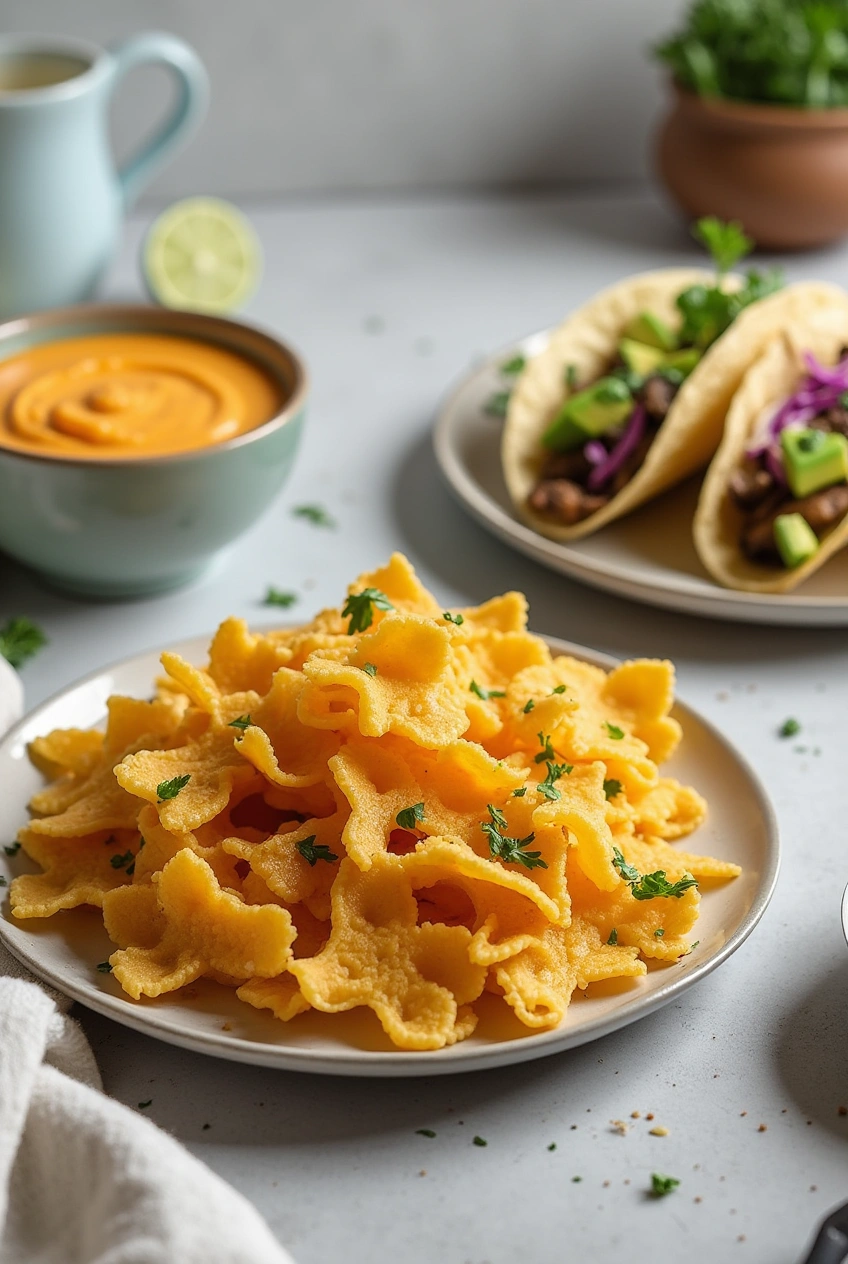
Last Tuesday, I was staring at a box of leftover rigatoni from the night before, wondering how to transform it into something exciting for dinner. That’s when inspiration struck – what if I could make pasta crispy and golden in my air fryer? After some experimenting, I discovered that Air-Fryer Pasta Chips are not only incredibly delicious but also versatile enough to create four different dinner variations that my family absolutely adores. These crispy, crunchy pasta bites have become our go-to solution for quick weeknight dinners, and I’m thrilled to share this game-changing recipe with you!
Why You’ll Love This Recipe
- Lightning fast – Ready in under 15 minutes with minimal prep
- Incredibly versatile – Four different flavor profiles to suit any craving
- Kid-approved – My picky eaters can’t get enough of these crispy bites
- Budget-friendly – Uses simple pantry staples you likely already have
- Perfect texture – Crispy outside, tender inside every single time
Nutrition Facts
Servings 5
- Amount Per Serving
- Calories 184kcal
- % Daily Value *
- Total Fat 6g10%
- Sodium 320mg14%
- Total Carbohydrate 28g10%
- Dietary Fiber 2g8%
- Sugars 1g
- Protein 6g12%
* Percent Daily Values are based on a 2,000 calorie diet. Your daily value may be higher or lower depending on your calorie needs.

Ready to Transform Your Pasta Game?
These Air-Fryer Pasta Chips have completely revolutionized how my family thinks about pasta night. Whether you choose the classic Italian herb, spicy buffalo, cheesy ranch, or Mediterranean variation, you’re in for a treat that’s both satisfying and surprisingly addictive.
I’d love to hear which variation becomes your family’s favorite! Drop a comment below and let me know how your pasta chips turned out, or share a photo if you try any creative variations of your own. Happy cooking!
Air-Fryer Pasta Chips: How to Make 4 Dinner Variations
Description
Transform boring dinners with Air-Fryer Pasta Chips! Get 4 easy variations that turn simple pasta into crispy, satisfying meals. Try today!
Ingredients
For the Base Pasta Chips:
Variation 1: Italian Herb
Variation 2: Spicy Buffalo
Variation 3: Cheesy Ranch
Variation 4: Mediterranean Herb
Instructions
Step 1: Prepare Your Base
-
Start with 2 cups of completely cooled, cooked pasta. If you're using fresh pasta, cook it according to package directions and let it cool for at least 10 minutes. In a large mixing bowl, toss the pasta with olive oil until each piece is lightly coated and glistening. Add garlic powder, salt, and pepper, mixing until the seasonings evenly distribute.
Step 2: Choose Your Variation
-
Select one of the four flavor variations and add those specific ingredients to your oiled pasta. Toss everything together until the pasta is evenly coated with your chosen seasonings. The mixture should look vibrant and smell absolutely incredible.
Step 3: Preheat and Arrange
-
Preheat your air fryer to 400°F for 3 minutes. Arrange the seasoned pasta in a single layer in your air fryer basket, making sure pieces aren't overlapping. Work in batches if necessary – overcrowding will result in uneven cooking.
Step 4: Air Fry to Perfection
-
Cook for 8-10 minutes, shaking the basket halfway through to ensure even browning. The pasta chips are ready when they're golden brown and crispy on the outside. If you prefer extra crispiness, add an additional 1-2 minutes, watching carefully to prevent burning.
Step 5: Final Touch
-
Remove from the air fryer and let cool for 2-3 minutes. For cheese variations, sprinkle any remaining cheese on top while the chips are still warm – it will melt slightly and create an irresistible finish.
Expert Tips & Notes
-
Perfect Pasta Selection: Short, sturdy pasta shapes like rigatoni, penne, shells, or rotini work best because they hold seasonings well and crisp evenly. Avoid long pasta like spaghetti or angel hair.
-
Oil Distribution is Key: Make sure every piece of pasta is lightly coated with oil. This ensures even browning and prevents sticking. Don't oversaturate – you want a light coating, not a greasy result.
-
Batch Cooking: If making multiple variations, cook each batch separately to prevent flavor mixing. Clean the basket between batches if switching from one variation to another.
-
Cheese Timing: Add grated cheeses during the last 2-3 minutes of cooking to prevent burning while still achieving that golden, crispy finish.
-
Storage Tip: These are best enjoyed immediately while warm and crispy, but can be stored and reheated for maintained crunchiness.
Storage Instructions
-
Room Temperature: Store cooled pasta chips in an airtight container for up to 2 days. They'll lose some crispiness but still taste great.
-
Refrigerator: Keep in the fridge for up to 4 days in a sealed container. Reheat in the air fryer at 350°F for 2-3 minutes to restore crispiness.
-
Freezer: Not recommended for freezing as the texture becomes mushy when thawed.
-
Reheating: Always reheat in the air fryer rather than the microwave to maintain that perfect crispy texture.
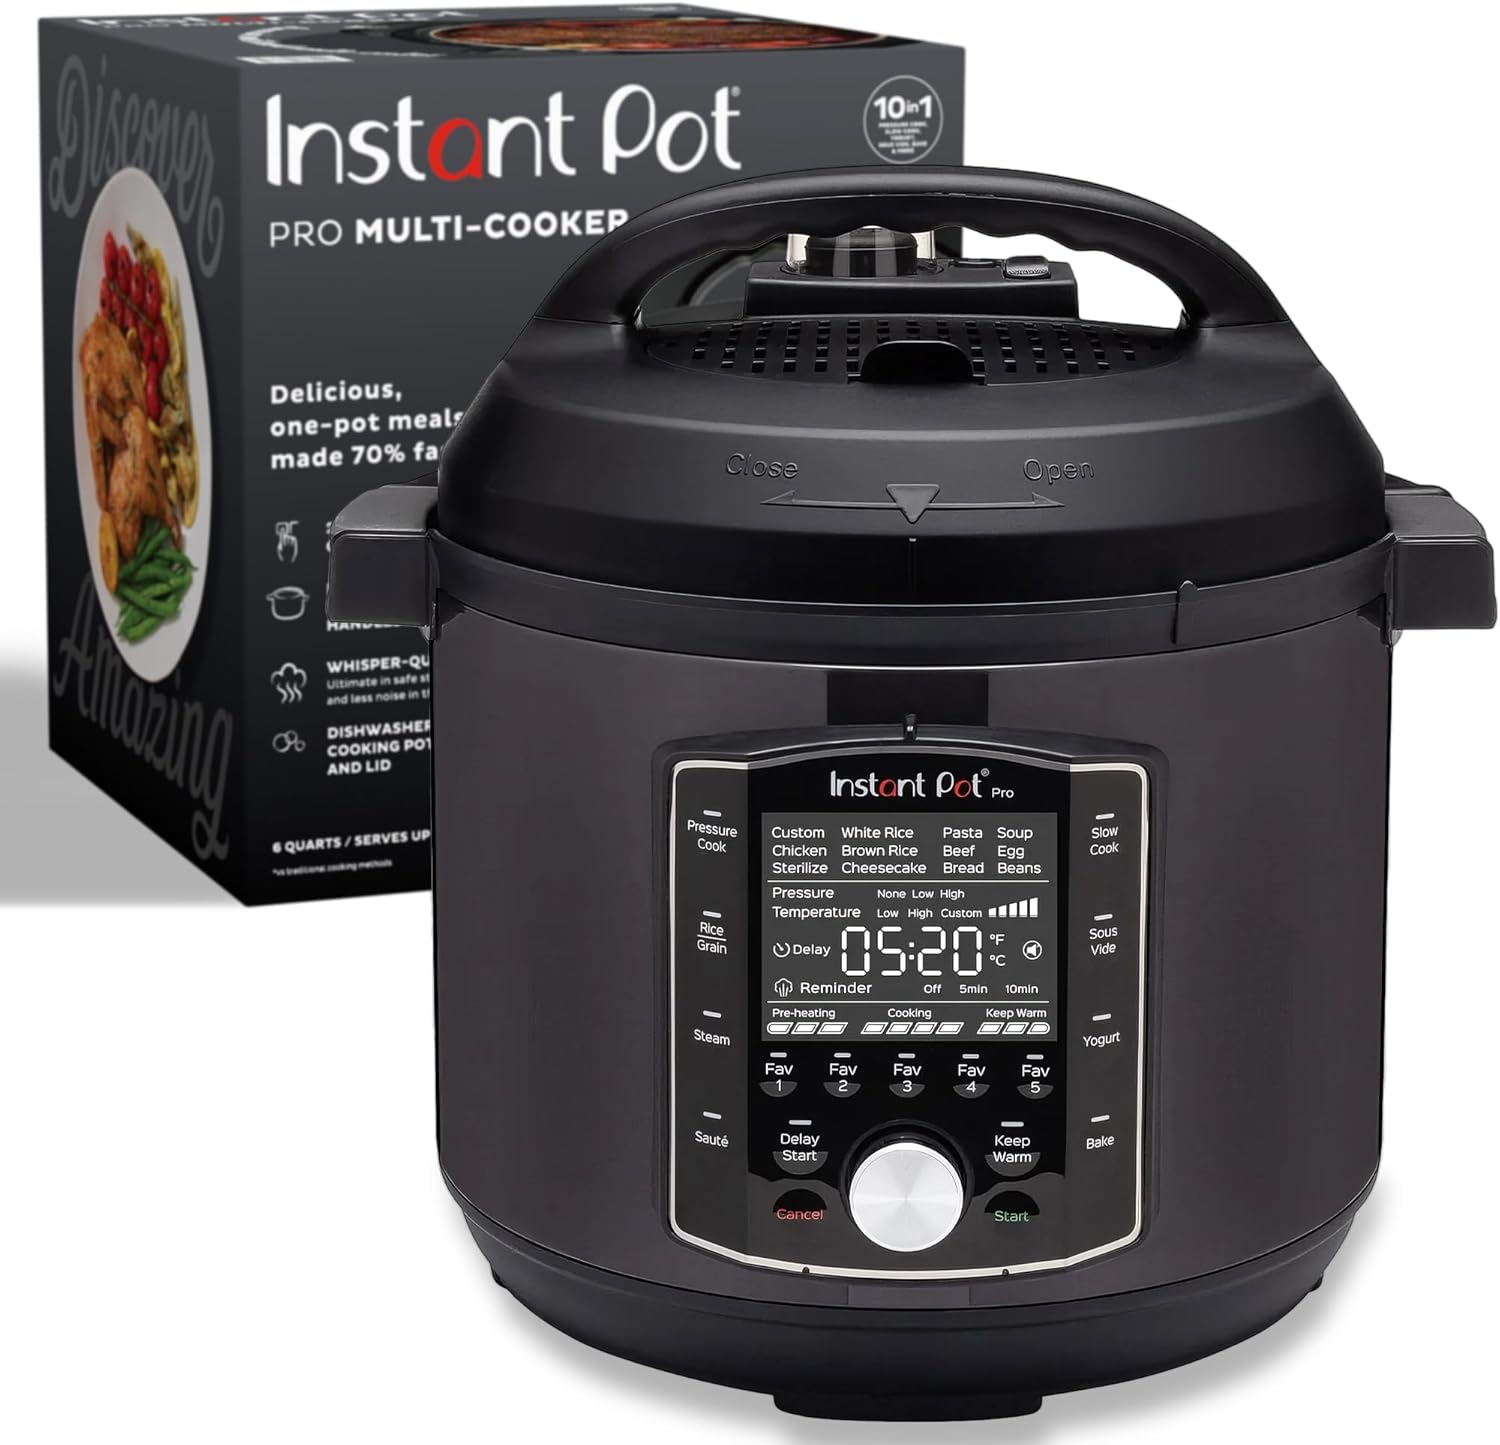
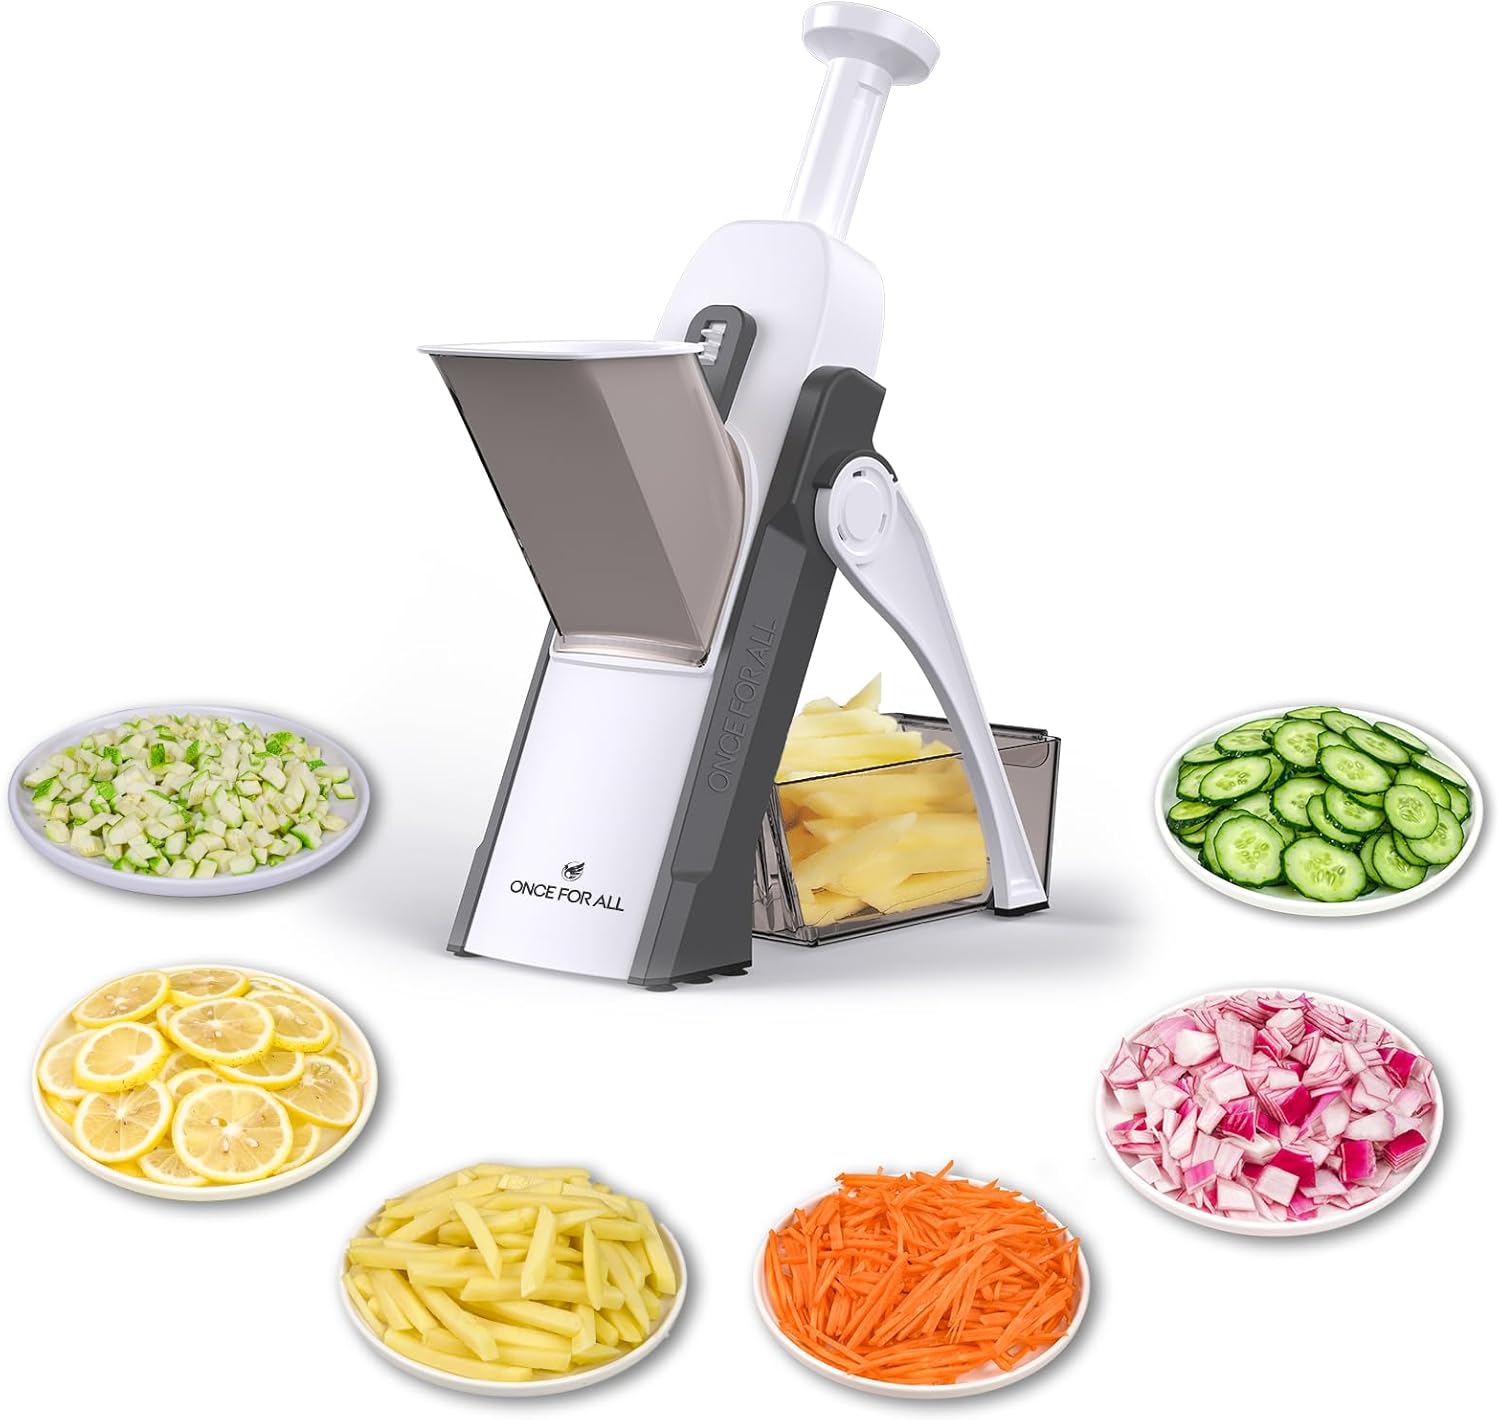
Equipment


Affiliate Disclosure: This post contains Amazon affiliate links, i.e., when you buy any product using the links below, we get commissions. but it doesn’t cost you anything extra. If you do purchase any product using the given links, we thank you in advance!